An Experiment...
Saturday, June 28th, 2025
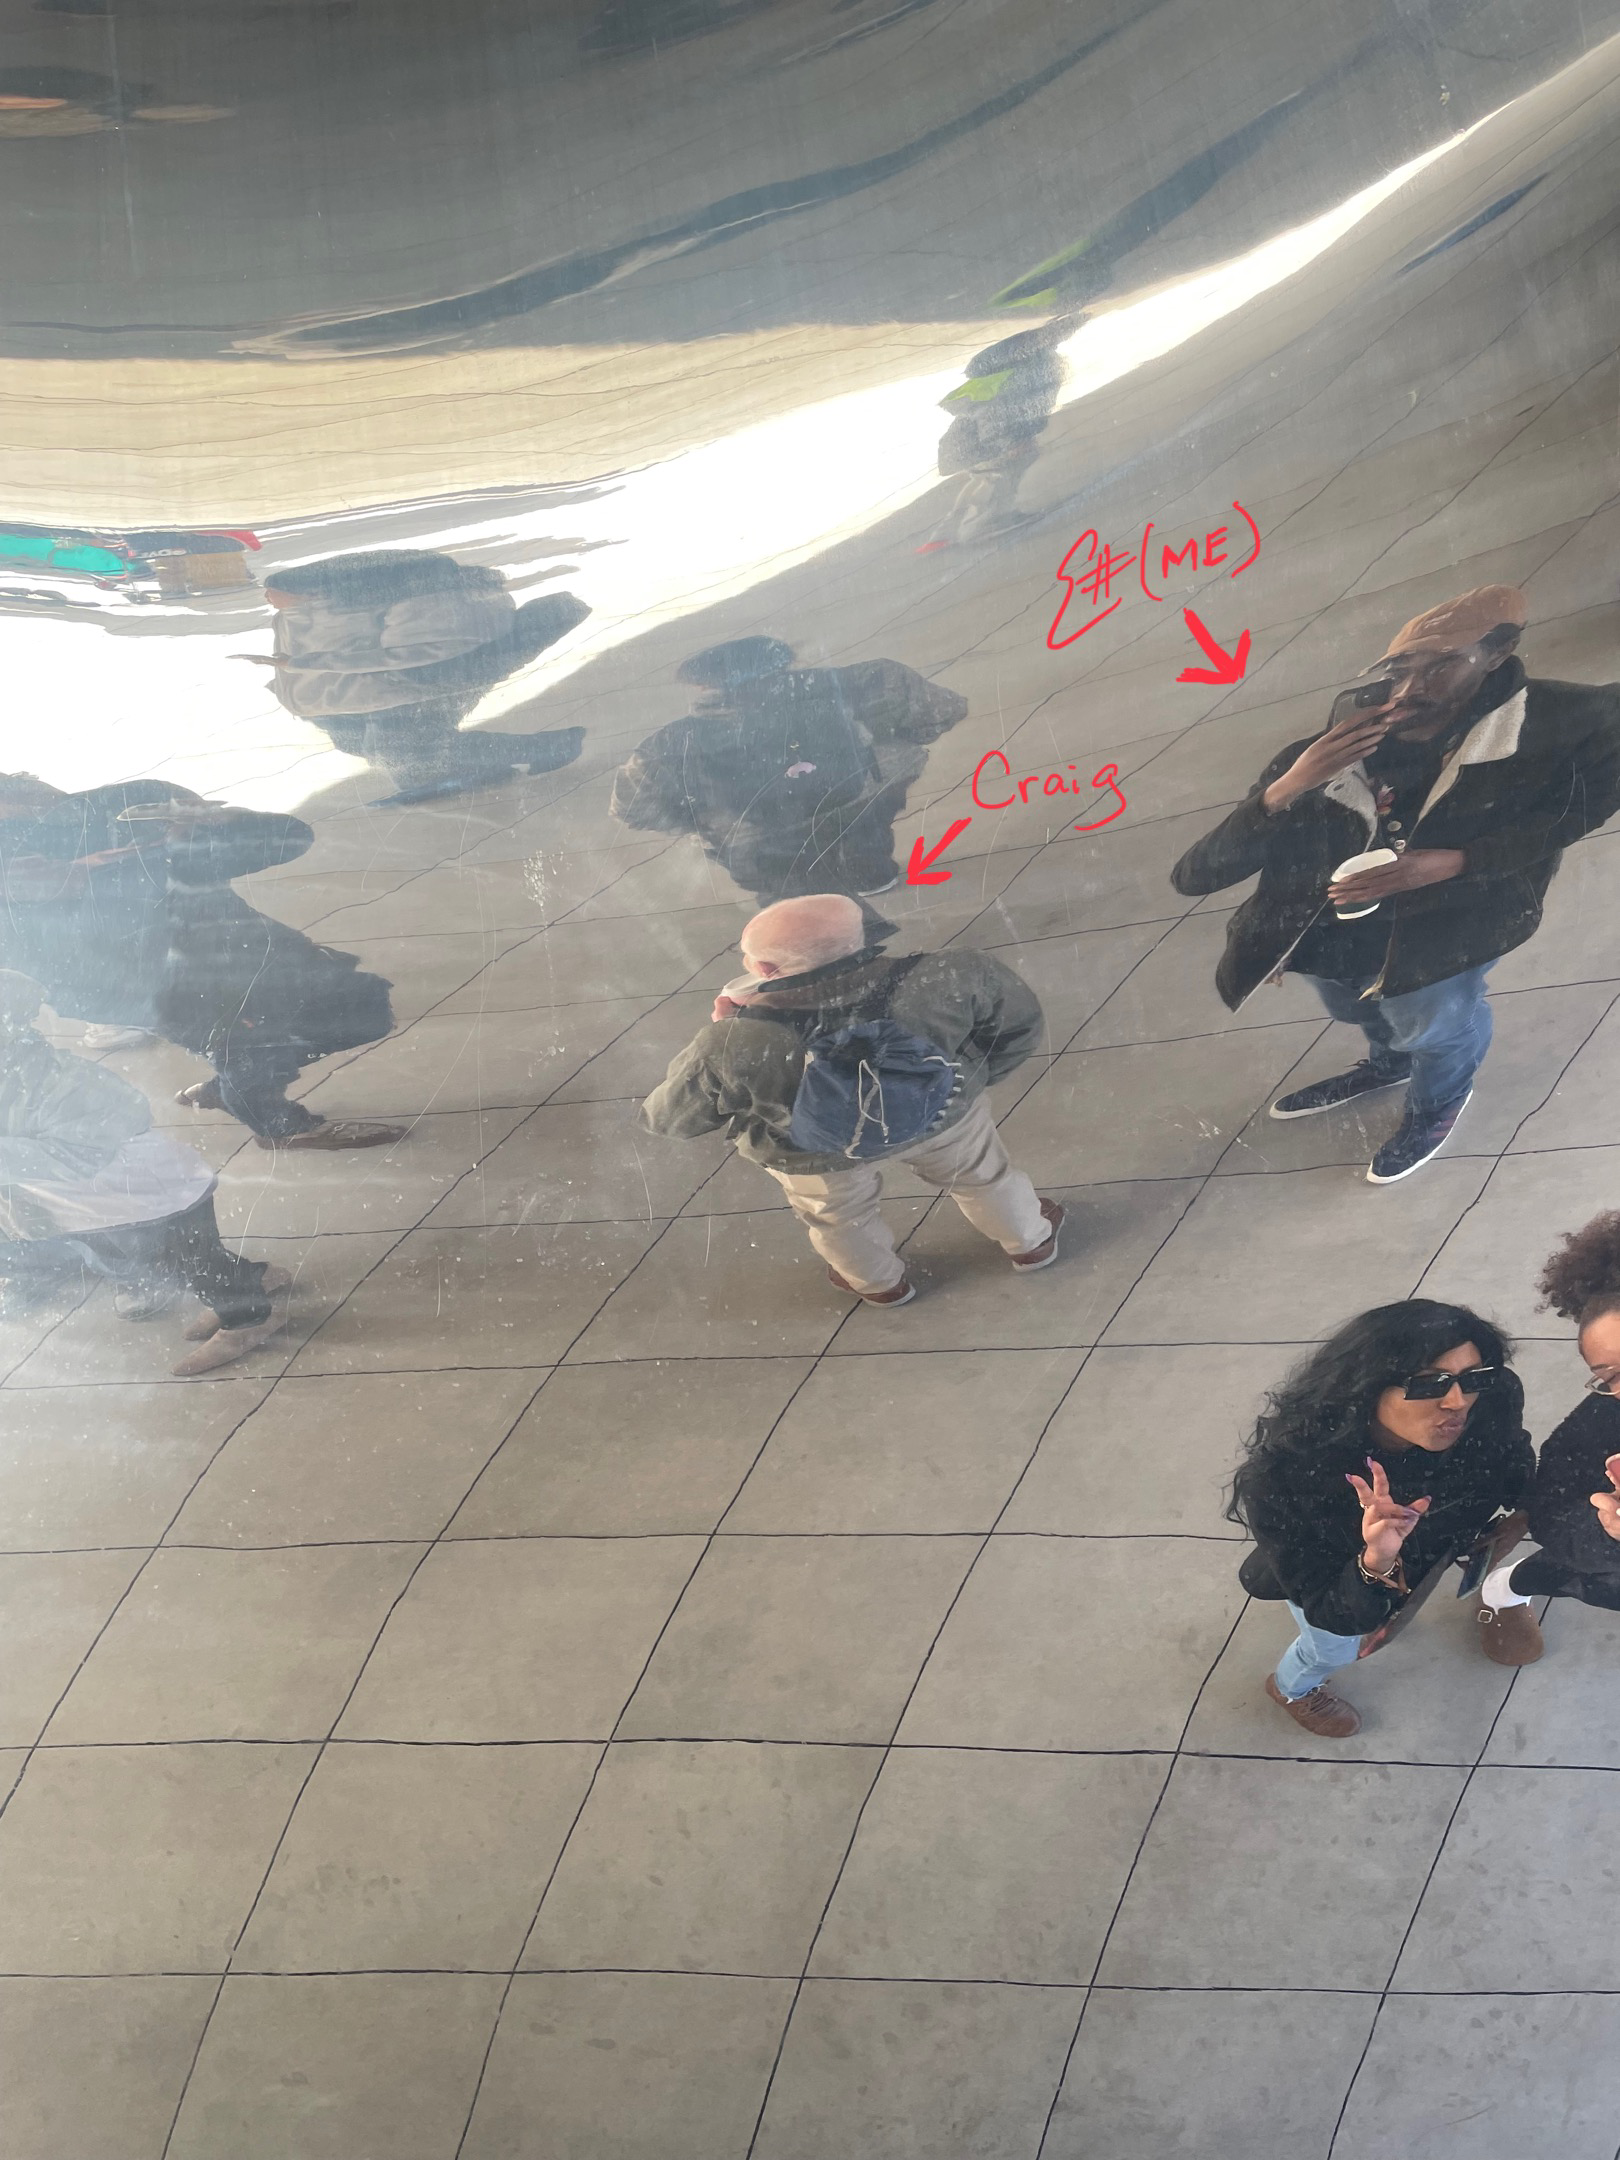
Today, if all has gone well (and if you’re reading this it has!), one of my violins was played in concert for the first time. Before I get into the process of how violin #3 came to be, I’m gonna put this right up top because I know you’re reading this, Craig: Craig and Stacy, thanks again so much for your hospitality and generosity in the 2½ weeks spent at your home and in your workspace. I’m so glad I got the opportunity to sit and make with Craig and have lovely conversations every evening in beautiful Mt. Hood, Oregon. Hopefully we can crank out two violas next year… Okay, now that that’s out of the way, let’s back up about two years.
The Sphinx Connection
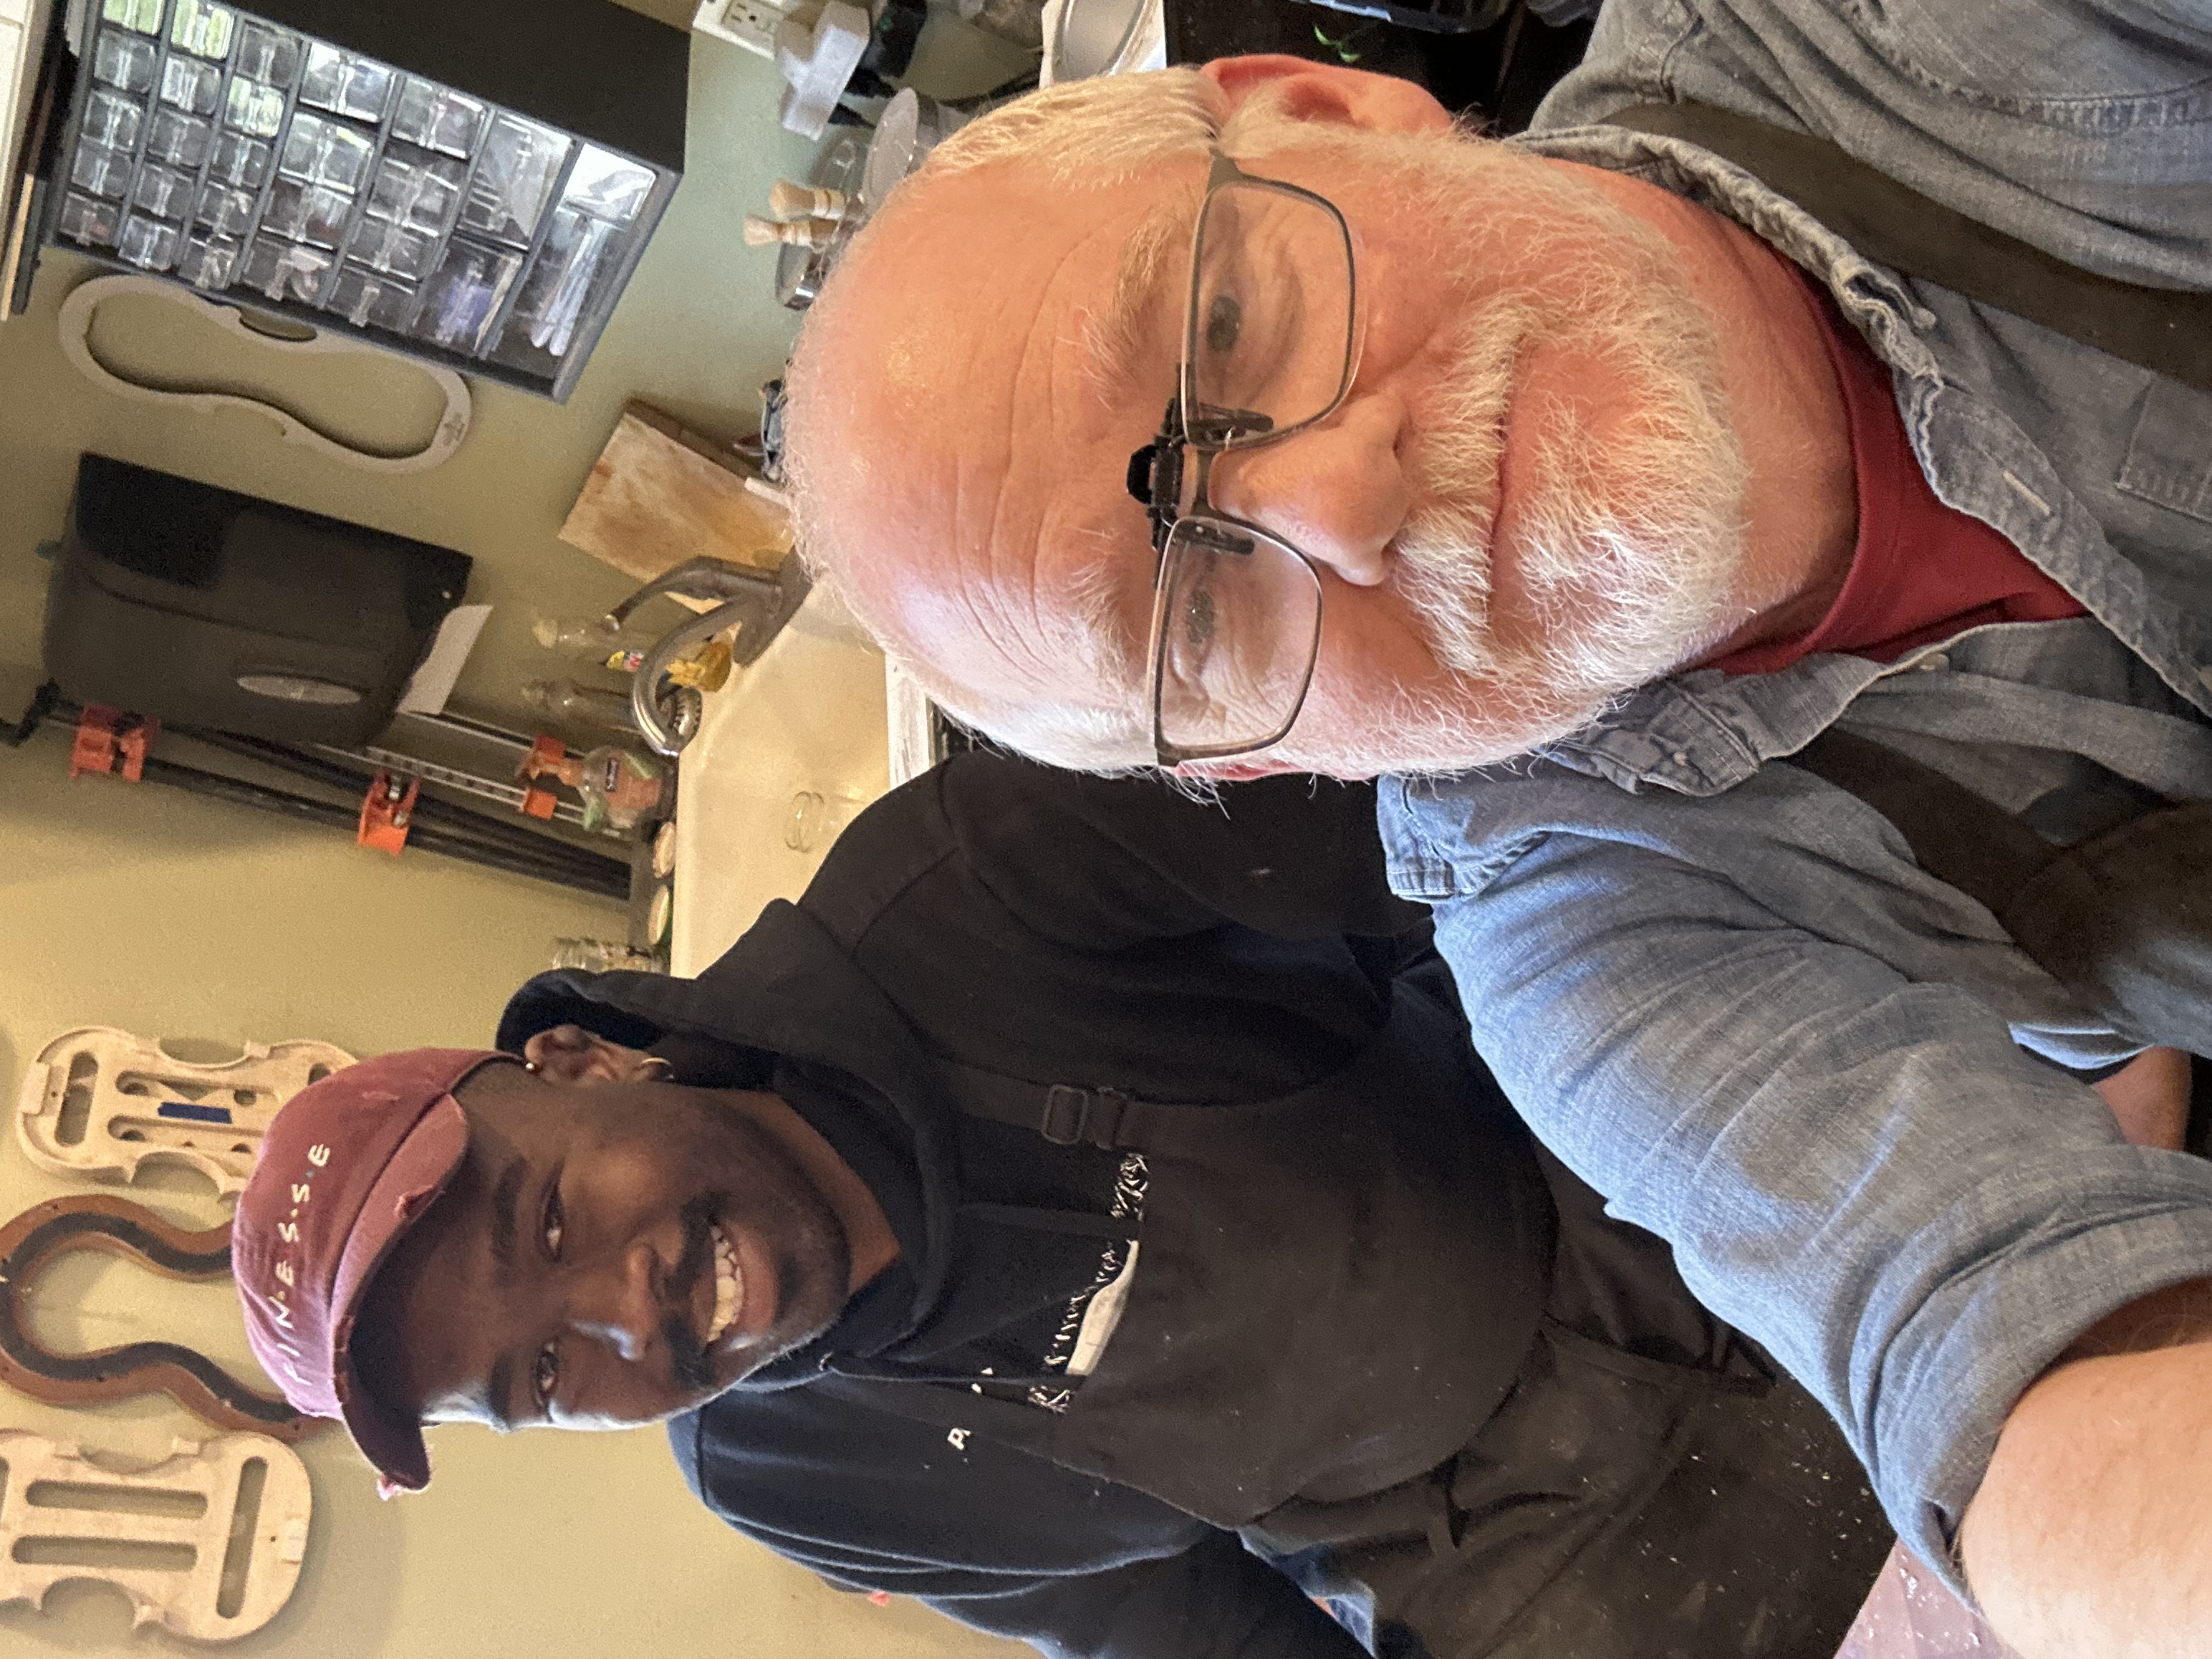
I am so good at these header titles. At my first Sphinx Connect conference back in January 2024, one of the many people I met there was Craig Danner, doctor-turned-author-turned owner and sole maker of Crispin/Hammer Violins in Mt. Hood Oregon, about 45 minutes east of Portland. And, ya know, the guy I broke the fourth wall to talk directly to in the paragraph above this one. To my knowledge, we are the only two violinmakers who go to this conference every year, myself a fledgling violinmaking student, and he a self-made maker of 4 years. Since meeting, Craig has been inviting me up to his home workshop to build a violin together, and a few weeks ago I took him up on the offer. We were going to make a violin from start to finish in three weeks*.
* = 16 days.
The First Day
Over pancakes and coffee of differing amounts of caffeine, we laid it all out: We’ve got 16 days to get from billets and blanks to a fully completed, set up violin. However, if I left Oregon with a violin in the white or maybe even with some color on it, I’d be satisfied. And dear reader, we made it out varnished and partially set up.
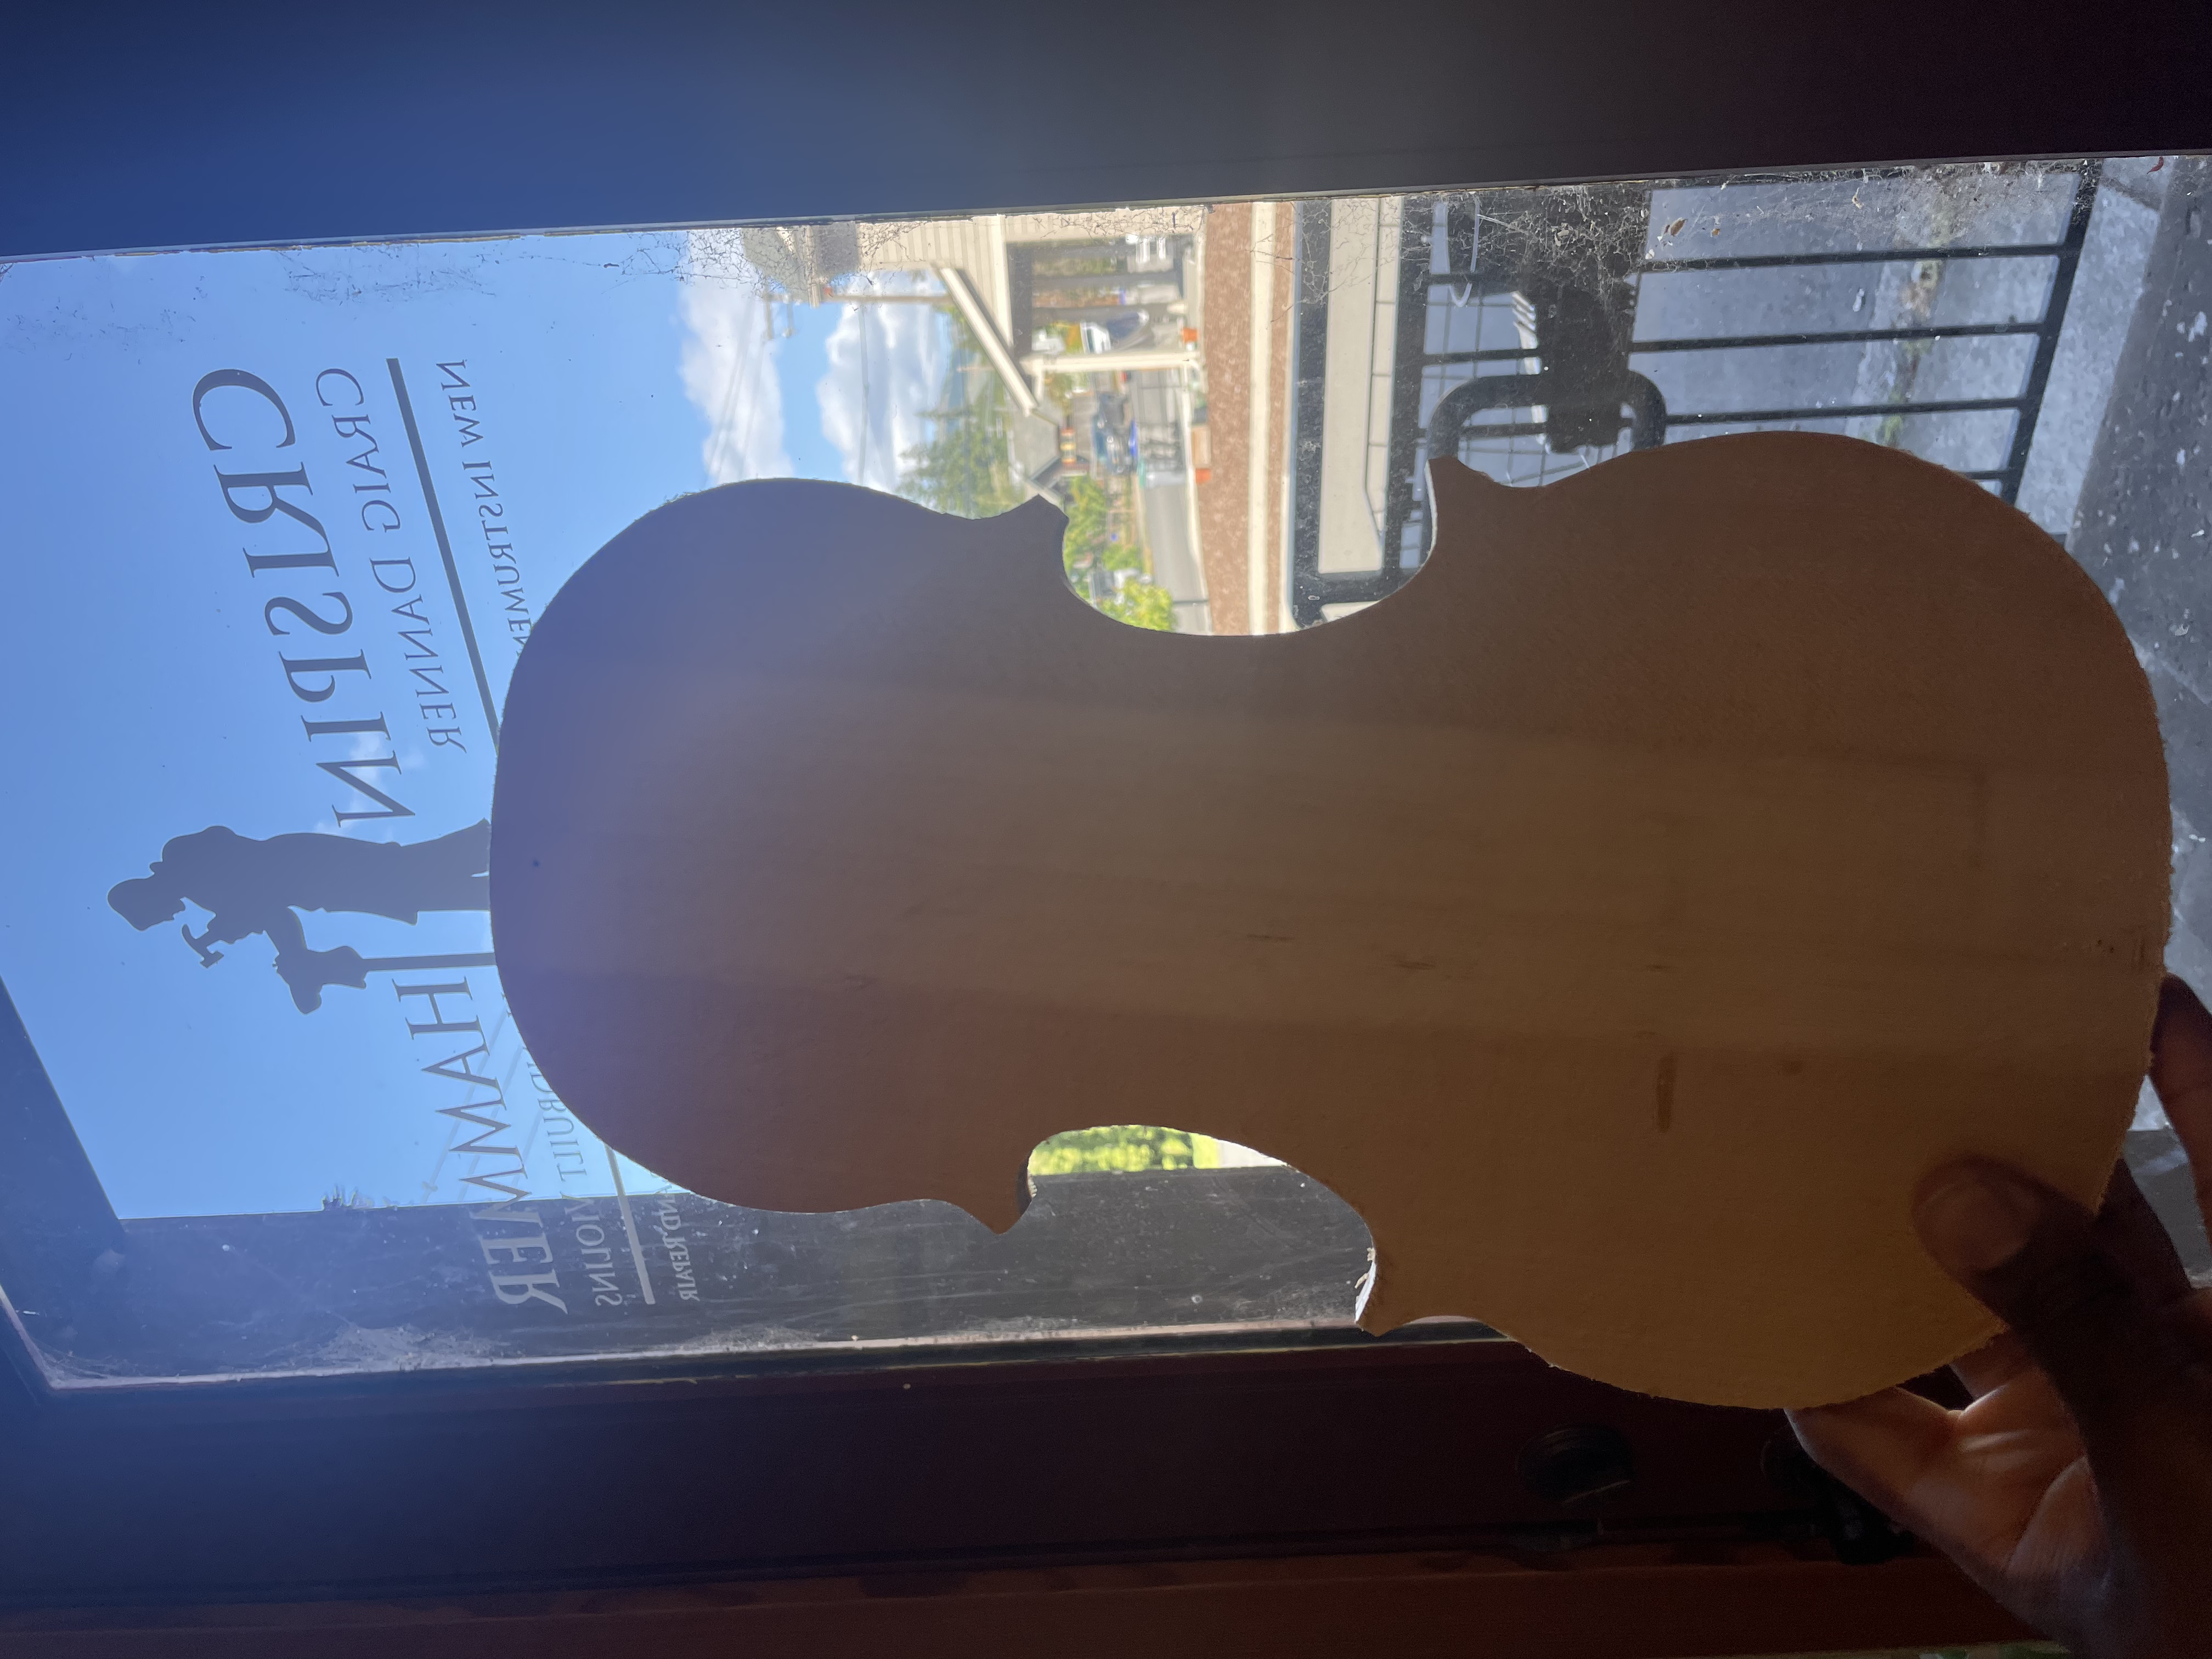
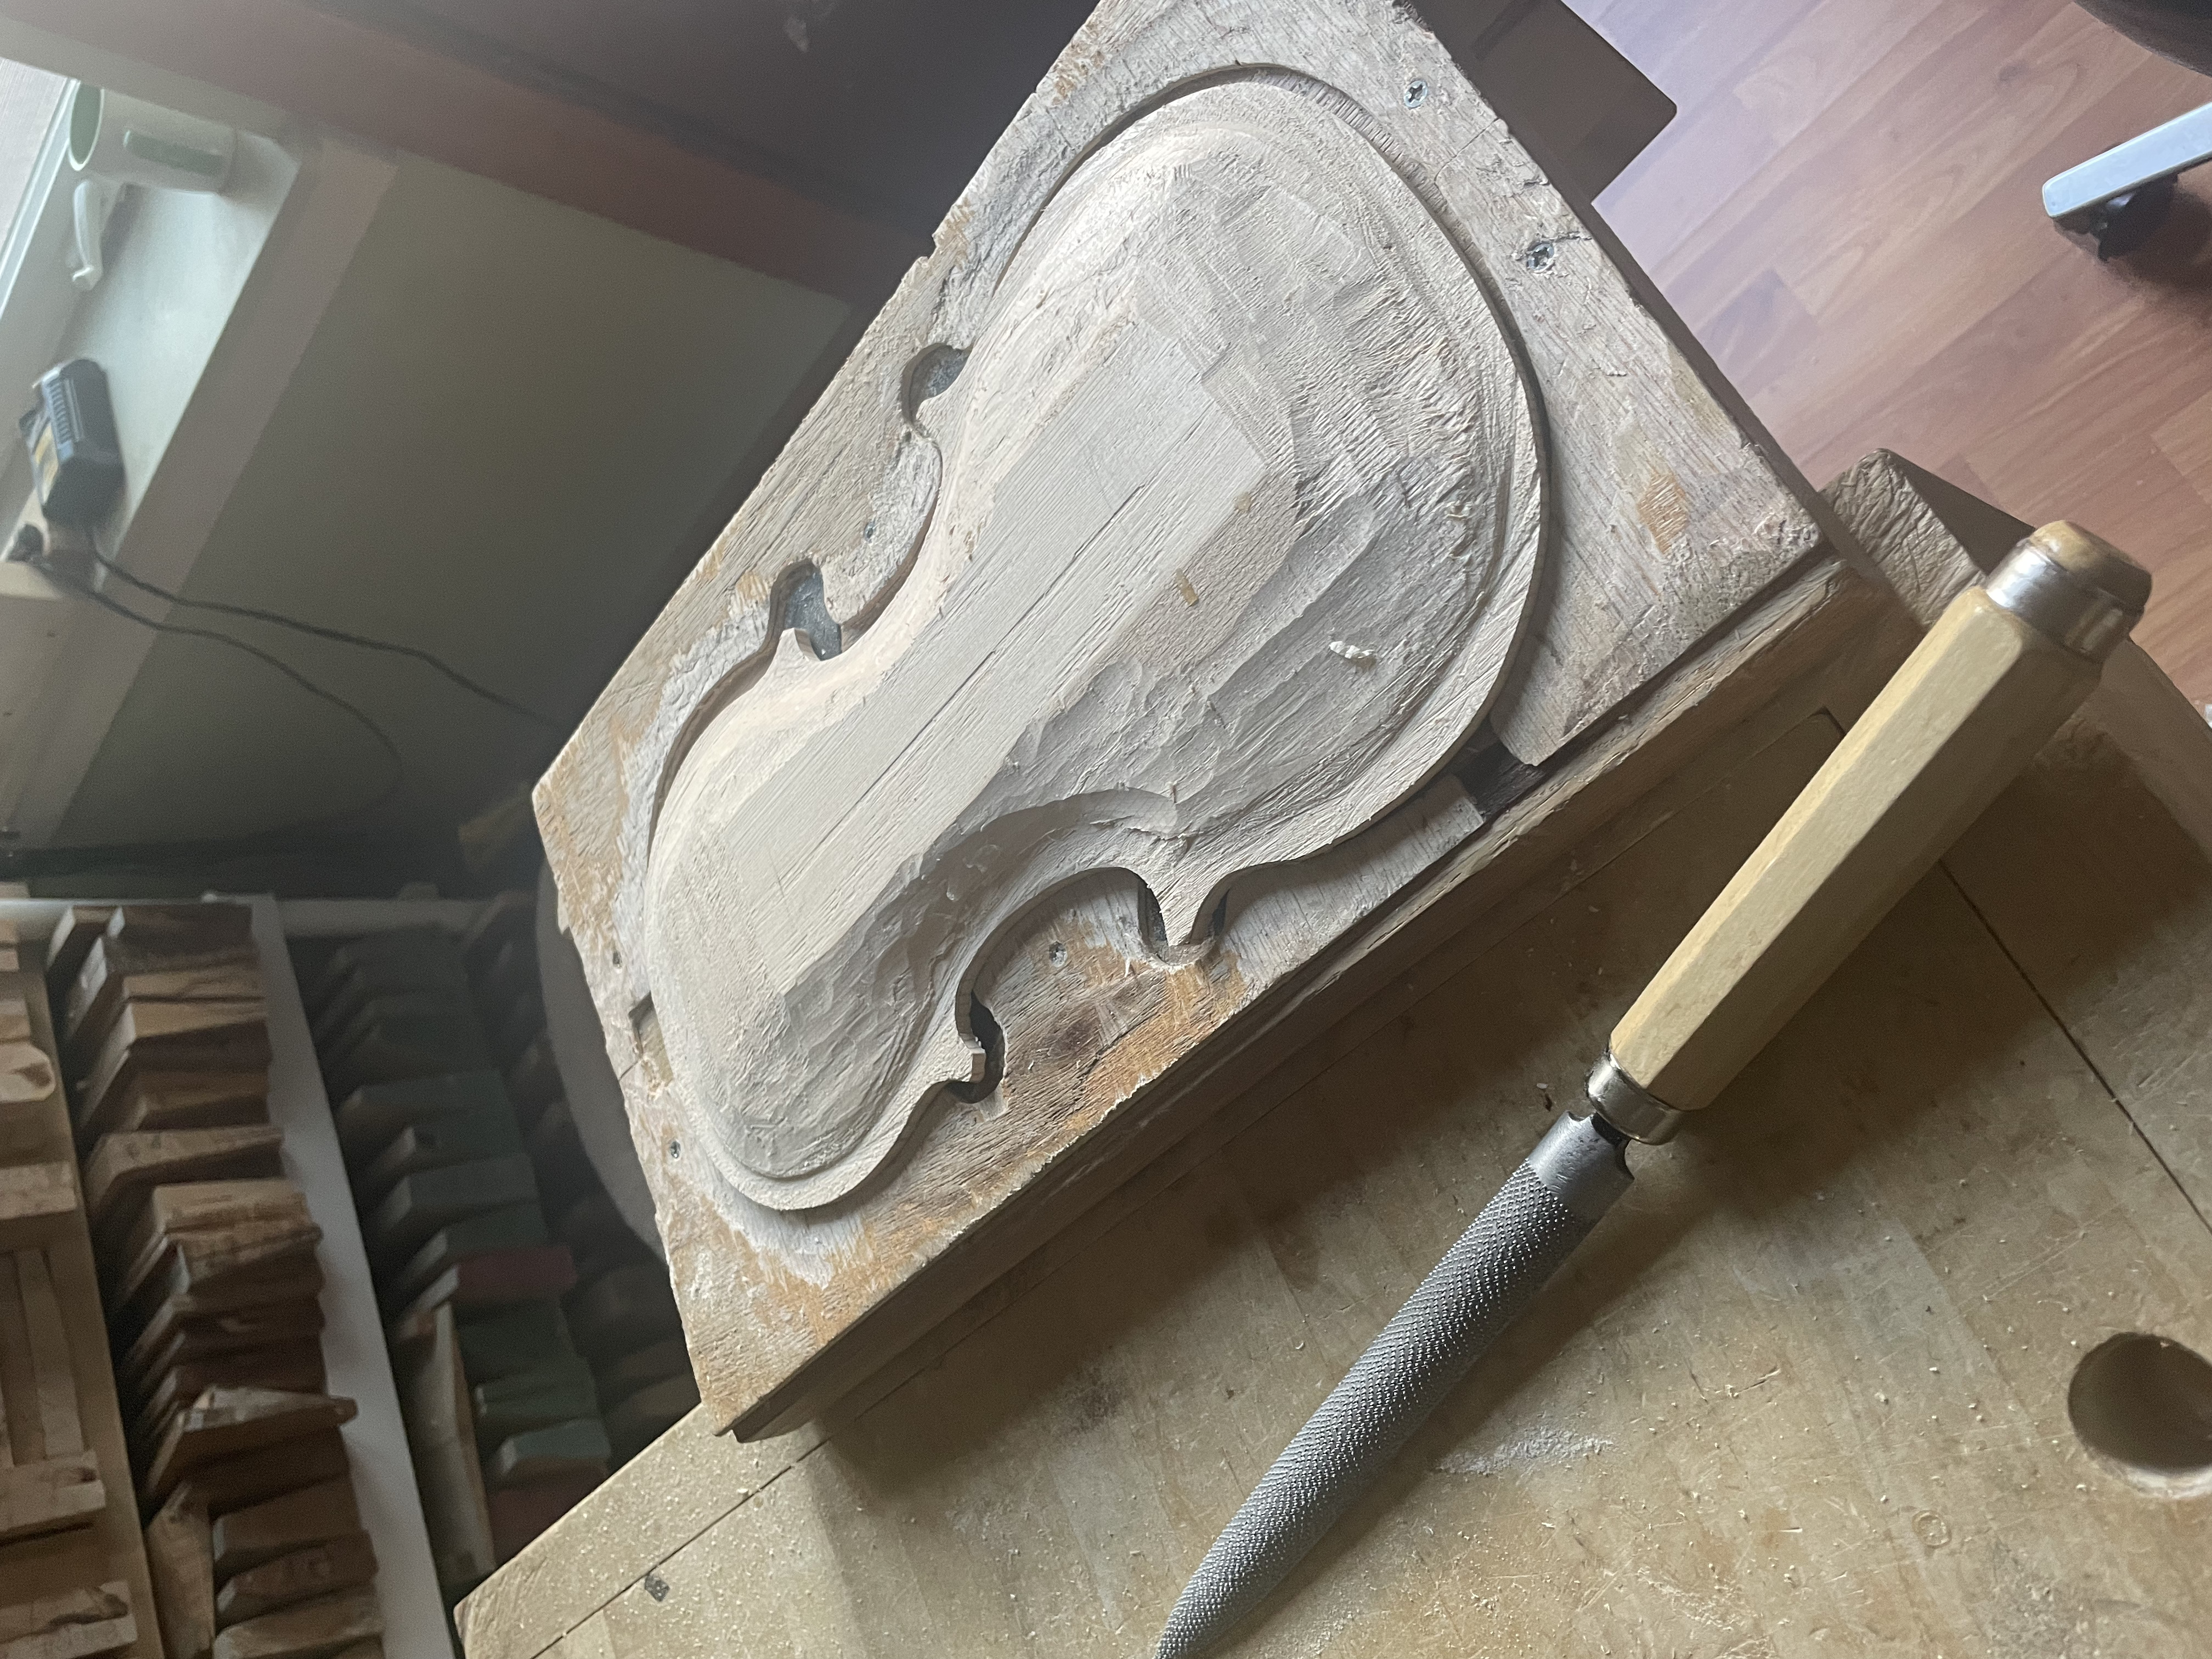
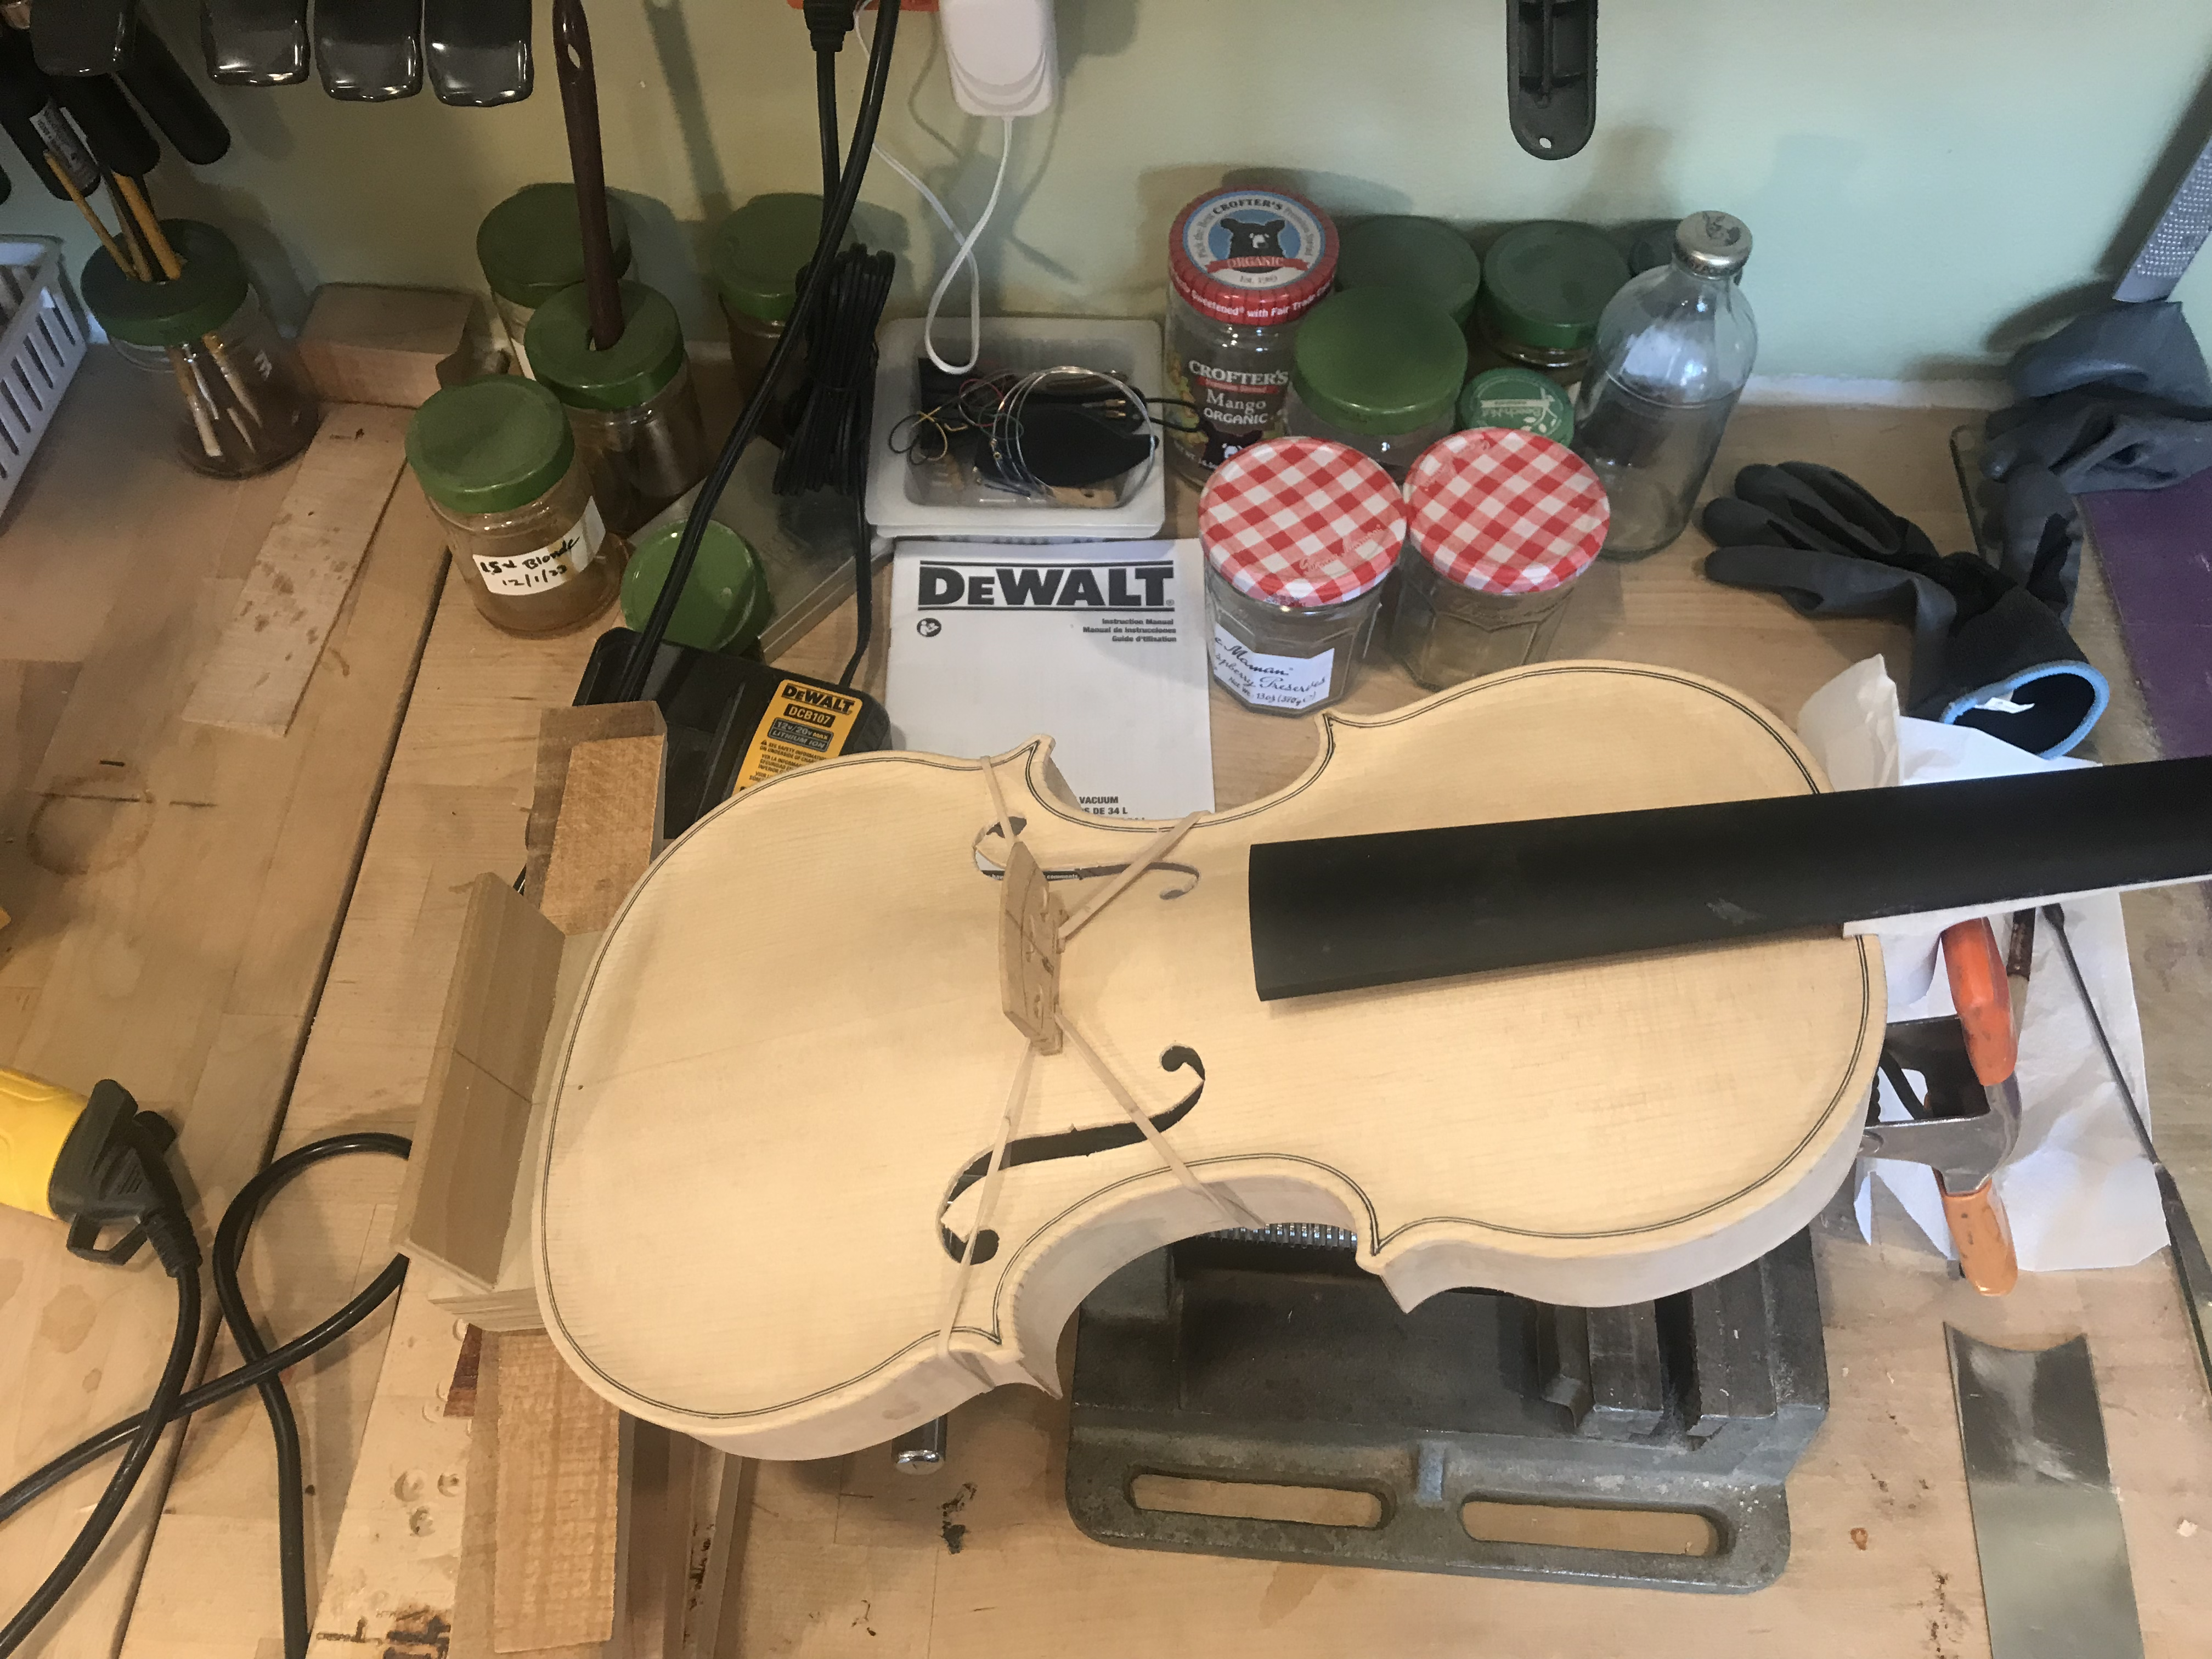
After showering and settling in, we got right to work. Template? Selected. Plates? Joined. Blocks. Split. Ribs? Structured. Speaking of templates, this violin is made off a 1733 Guarneri del Gesu ‘Kreisler’ pattern, of which many liberties may have been taken. Writing this after the violin’s been setup, I think its a pretty good model of violin to construct, it’s got nice curves in the right places. As a matter of fact……give me a second here……yup. Roger Hargrave wrote an article for The Strad back in ‘88 about the original violin. I was skimming this particular article the first few days of construction to get an idea of the violin in my head. Then made an effort to not look at it again once we got deeper into the making process. Making an exact copy was not the point of this experience: the goal was to get a good violin done fast efficiently and quickly.
The next day, the rib garland was finished up, sanded flat and with a slight cant, and linings glued into place. Just before getting linings glued in, we traced the rib structure onto the top and back to cut out the outline. So far, this would all align with how I made the first two fiddles at CSVM, just at a much faster pace. Most of that can be attributed to already having work pieces dimensioned close to what they need to be for working with: significant amounts of time were not spent flattening or thinning because it had mostly been done. Craig also happened to have linings that were pre-bent and needed only be persuaded into position in the rib garland. This is a practice I’d already been hoping to utilize once I’m making on my own: get a bunch of the “heavy lifting” done early, or even as soon as the wood is acquired, to make the starting of an instrument go smoother. Craig’s workshop was truly set up in a way that you could grab 3 pieces of wood and just go.
The Deviation
At this point, I would normally focus primarily on the arching of the top and back at the same time. However, the Crispin/Hammer Method of Violin Making differs in two ways at here:
- The back is glued on to the body after the neck has been set into the mortise, and;
- The purfling is done early in the arching process, as oppposed to after the outer arching is near complete.
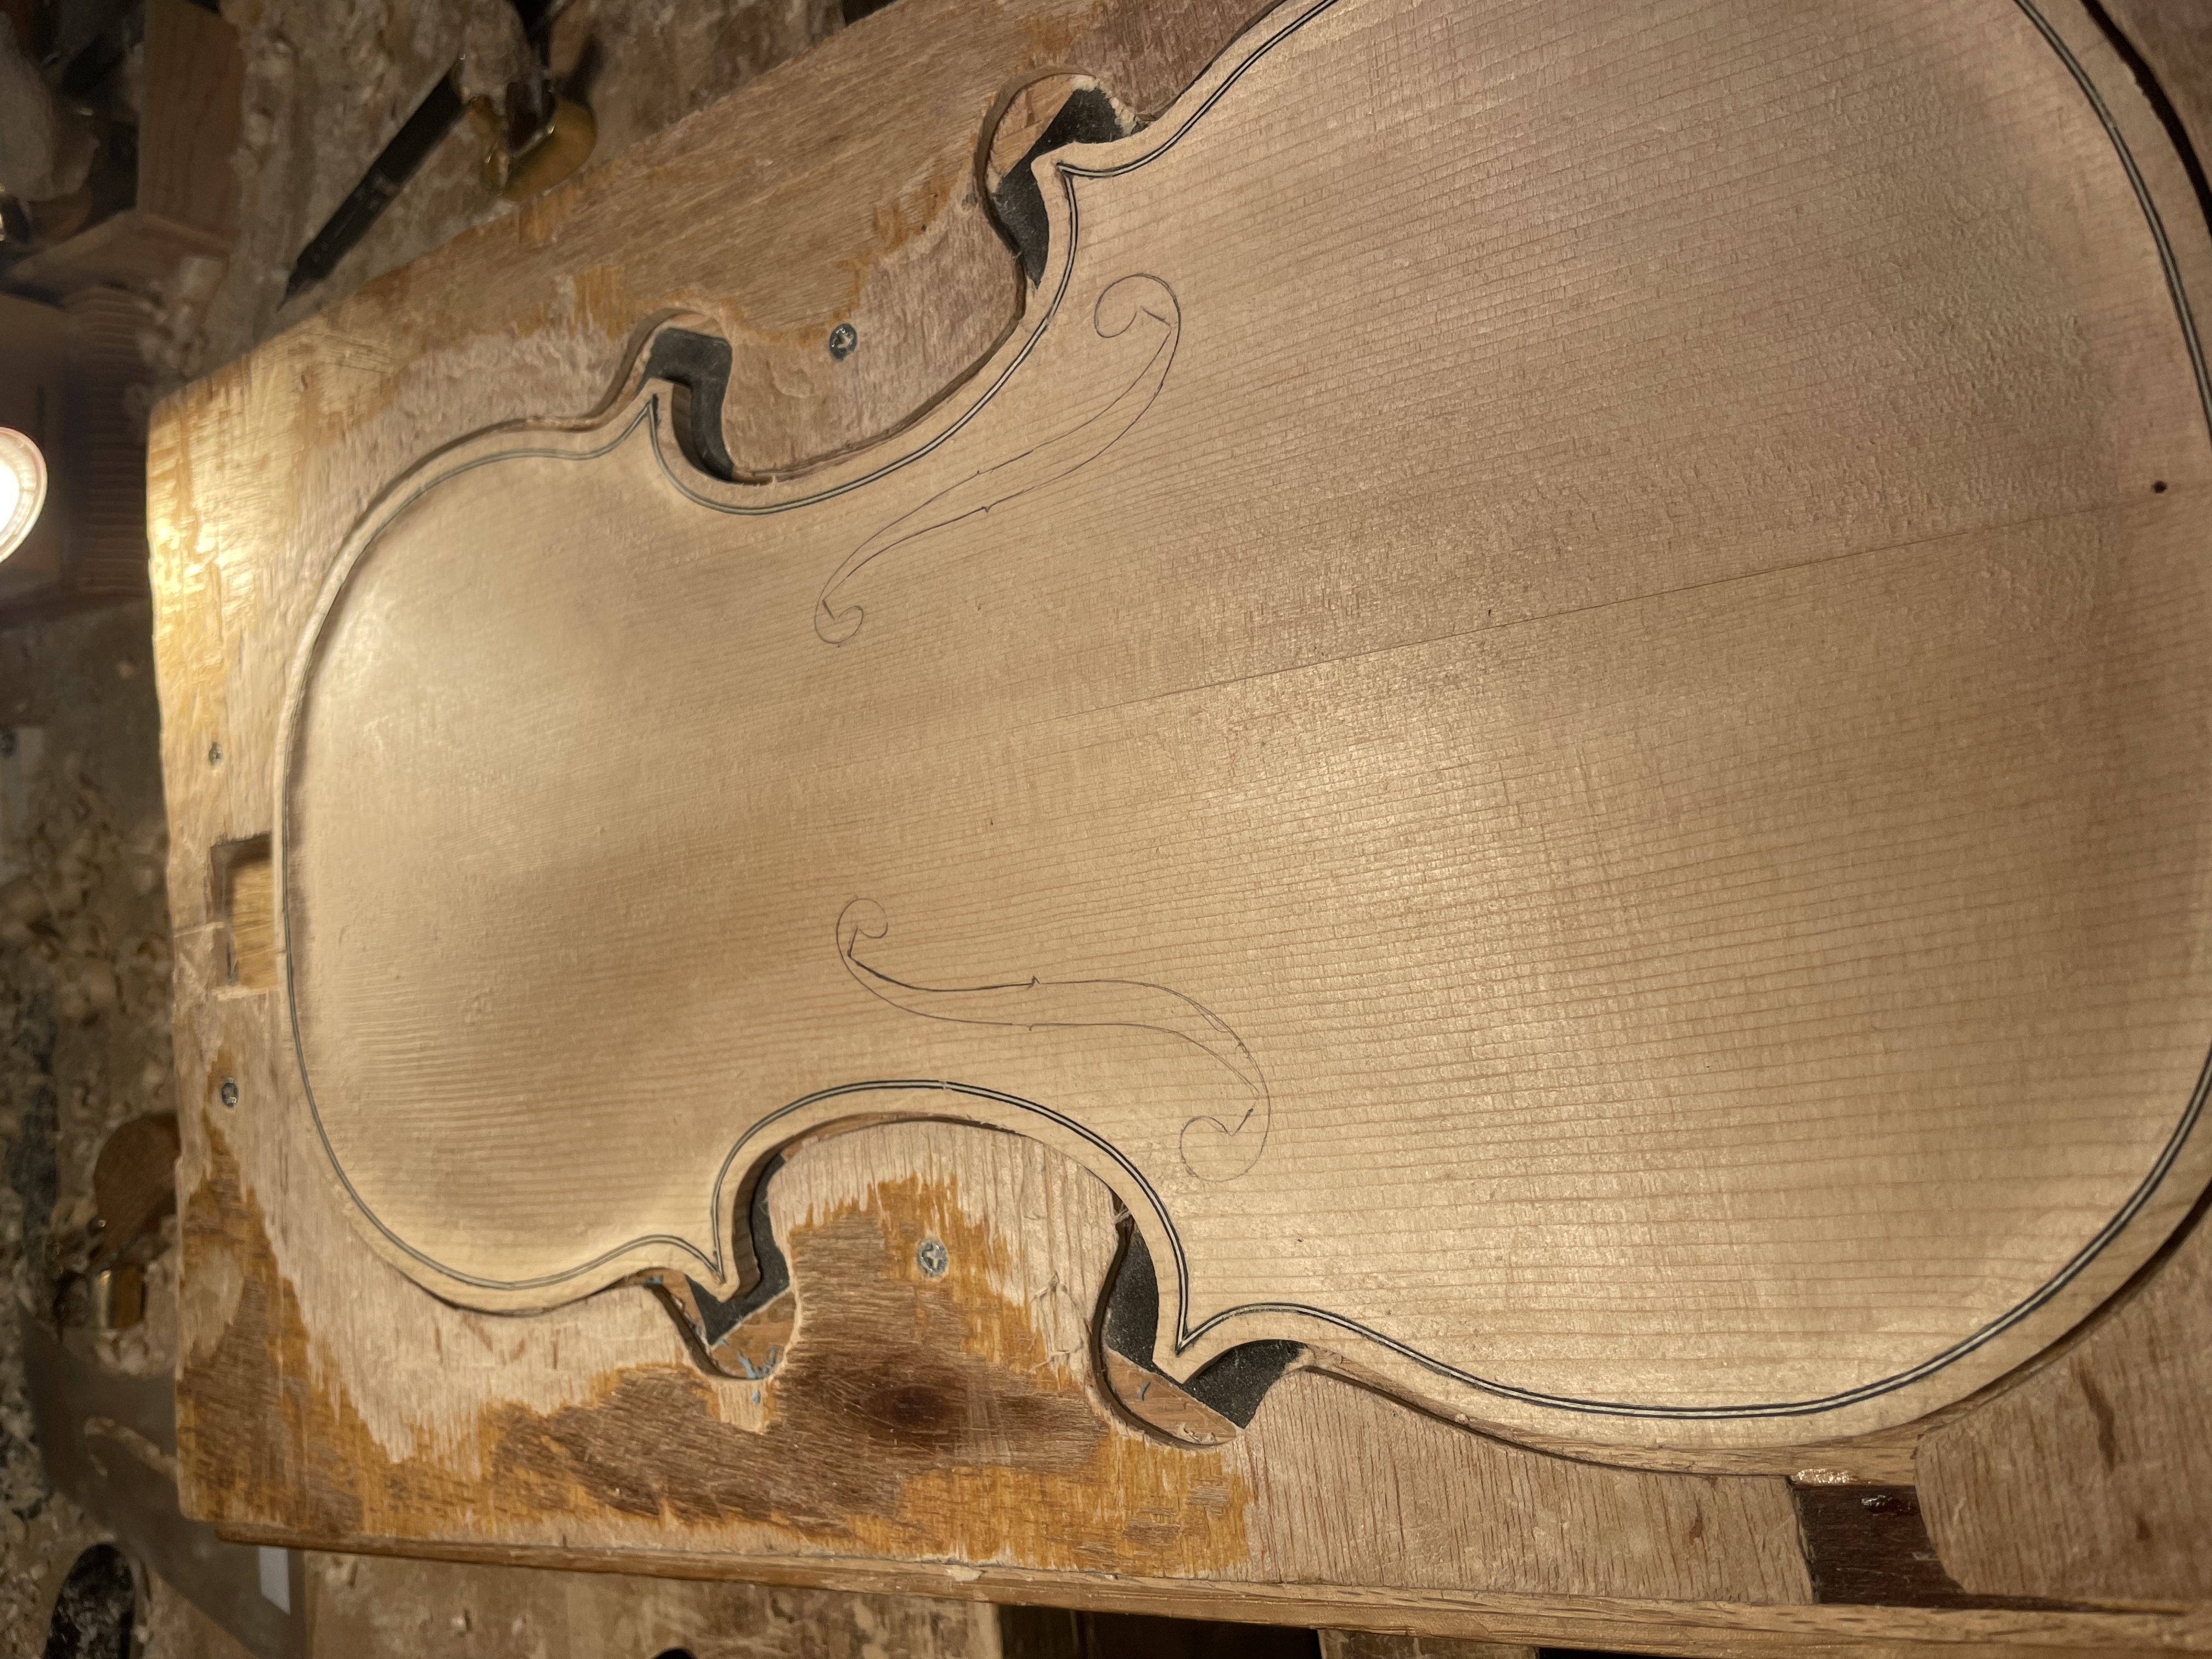
So the logic here is: if we’re gluing on the back after the neck is glue onto the body, we can worry about that while the neck is drying; our focus is getting the top and neck/scroll completed. A couple days were spent establishing the final arch height, removing wood to make room for the purfling channel, routing out said purfling channel with a rotary tool and 1.2mm bit, and gluing in the purfling. In between tasks, we also took the time to plane flat a block of maple that would become the first attempt at a neck, before deciding a few days later another piece of maple we had on hand would match the maple I picked for the back. Little did we know that only a few days after, this move was pointless.
FORESHADOWING. THIS IS BLATANT FORESHADOWING.


Moving Right Along
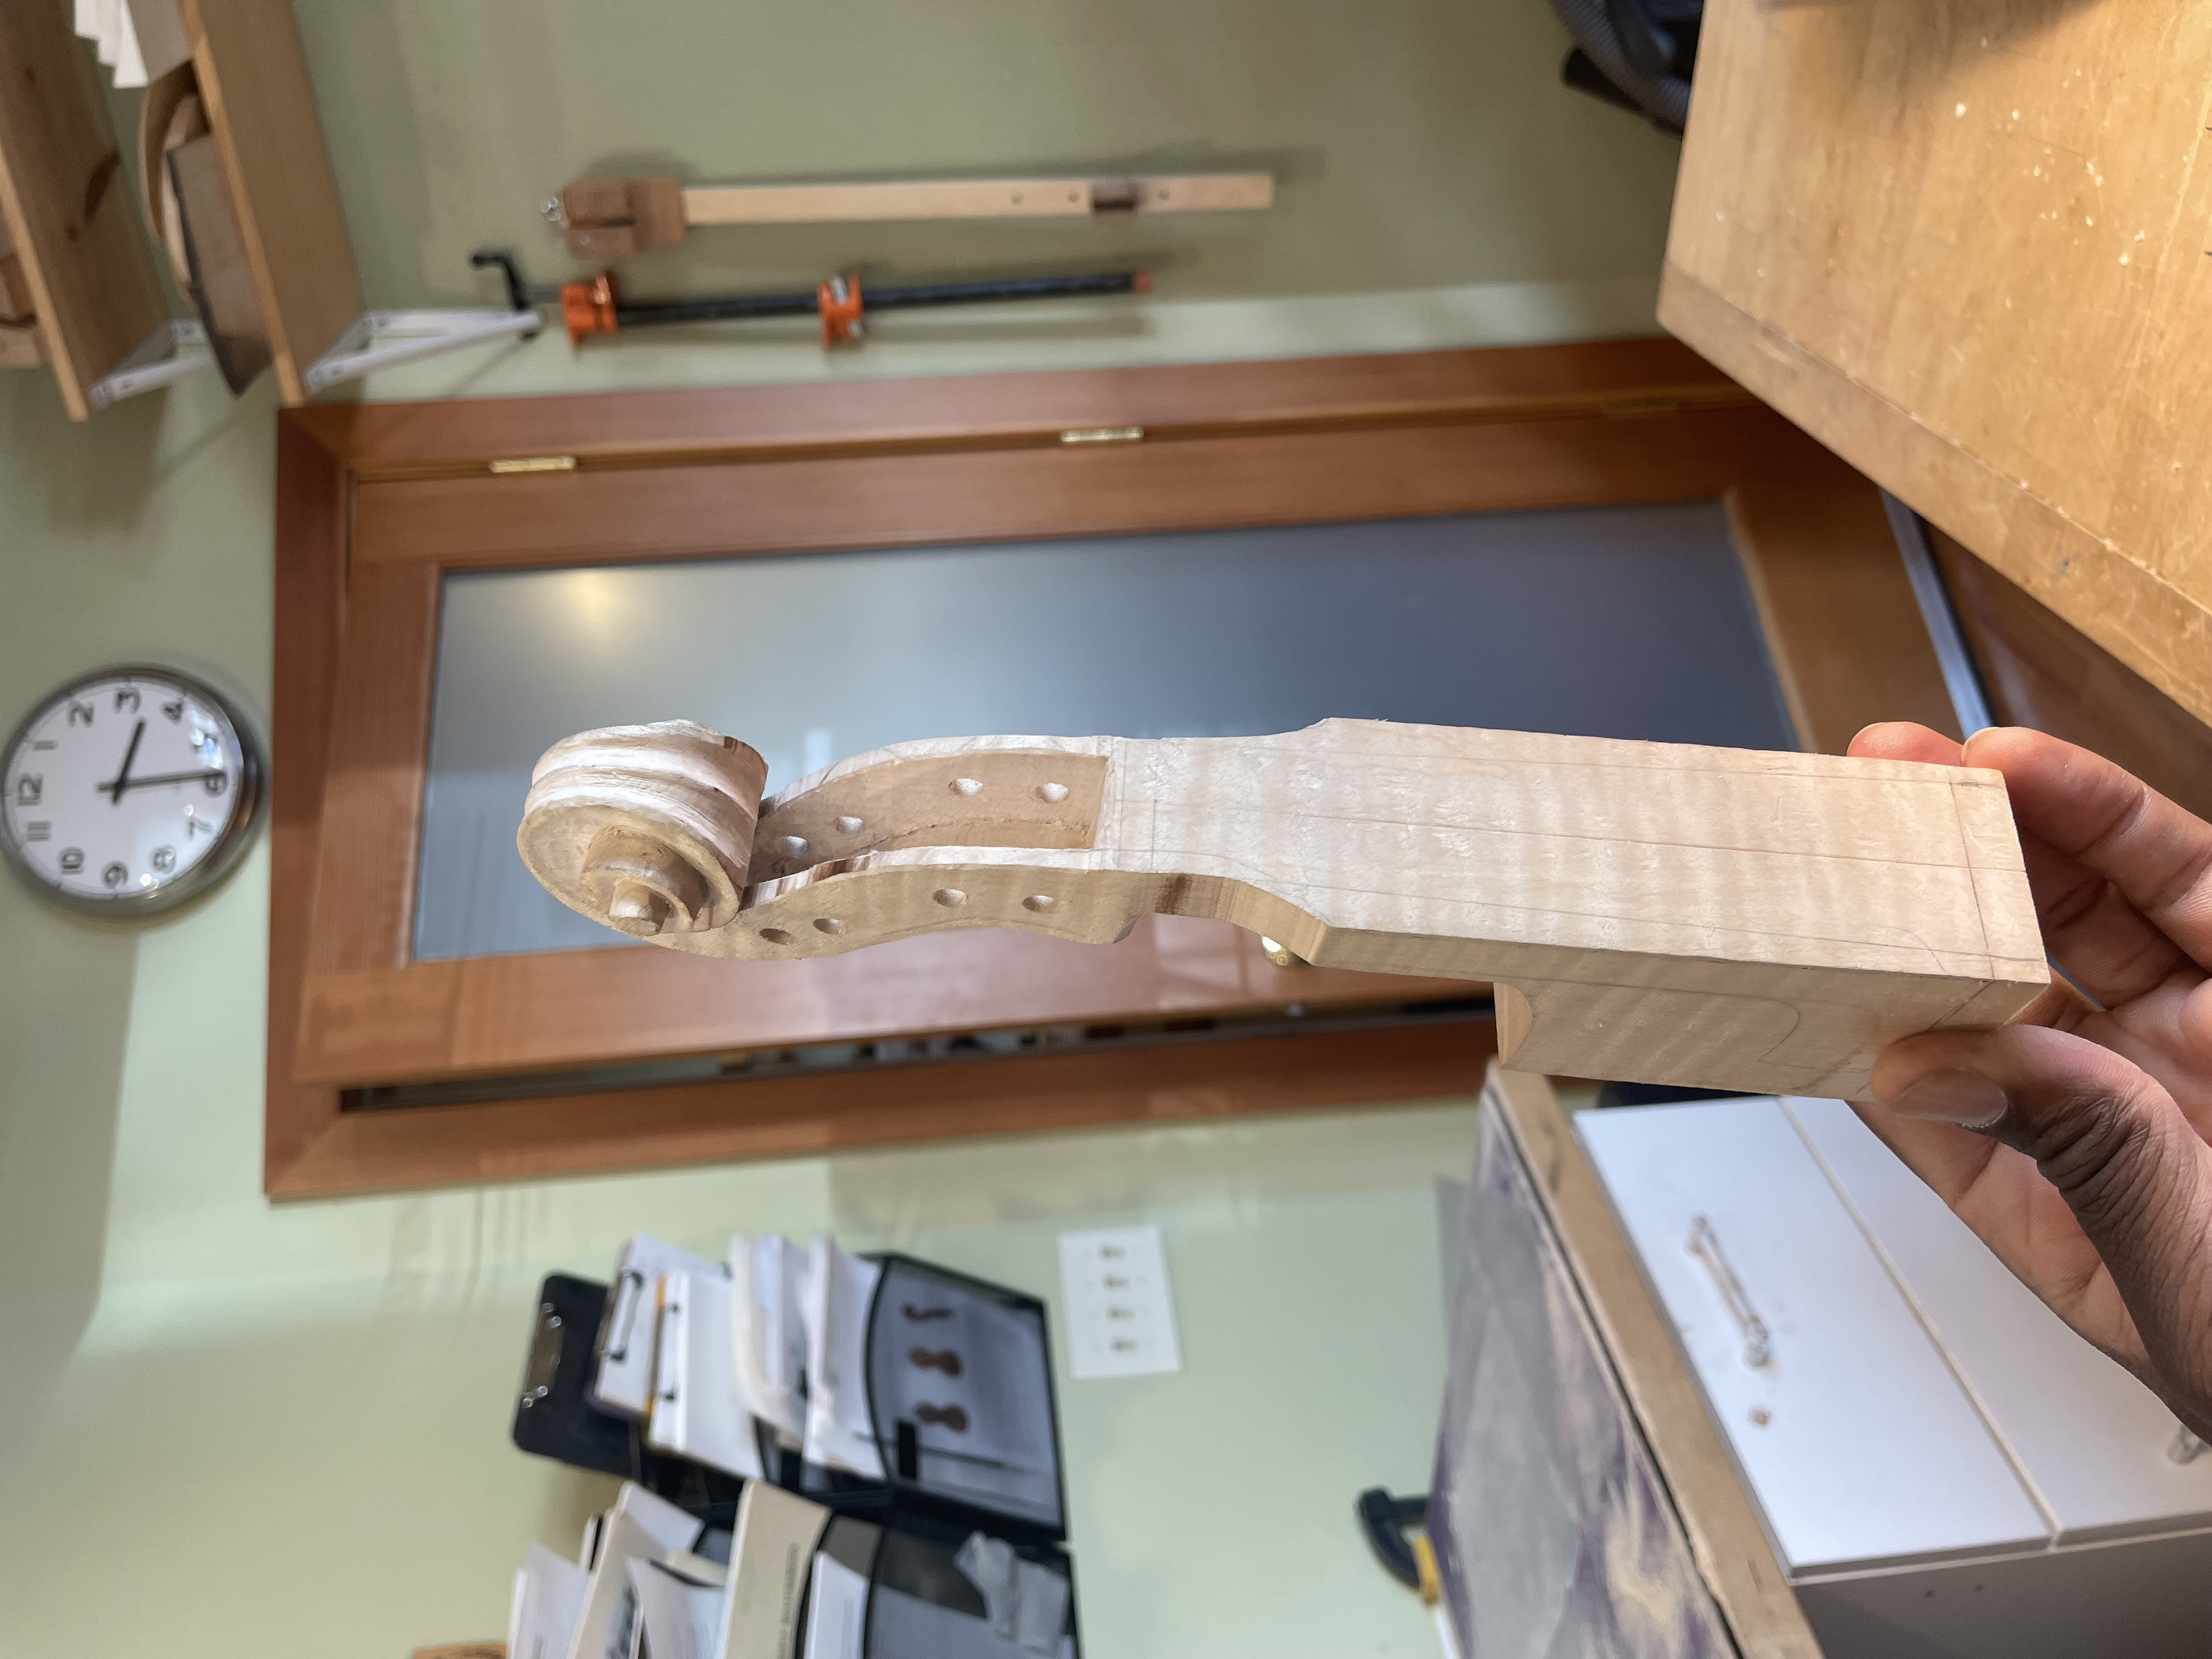
I’ll try not to bore you with the entire step-by-step. (Unless you really want that. Come talk to me over on Twitter or Bluesky, I’ll gladly talk your ear off about the making process.) By the end of the week, I was cutting out the turns of the scroll, scooping out the inside of the top, and a week or so in, shaping the edges and corners, cutting out the peg box, moving the neck along towards “finished",” gluing and shaping a bassbar, and cutting ff-holes, which I still refuse to practice before putting them in instruments. I find the adrenaline + cortisol spike from the fear of f***ing it up so deep into the making process motivates me to get it right in one. And that strategy hasn’t failed me yet, 3 instruments in.
Foreshadowing? This might be foreshadowing??
And, as the neck was going into The-Violin-Whose-Name-has-not-Yet-Been-revealed-at-This-Point-in-the-Narrative, my friend Korah came to visit the shop.
Giving Ursula a Voice
Throughout the 16 days, a small handful of visitors were coming in and out of the shop for various reasons: a violinist looking for repairs to get back into playing after a few years, a freelancer looking to purchase a new instrument for his work. In fact, on my first day in Mt. Hood, Craig’s teacher brought the rest of her students (a group of kids ranging from 8 to maybe about 14-15) to the workshop to see how violins are made.
Anyway, Korah. 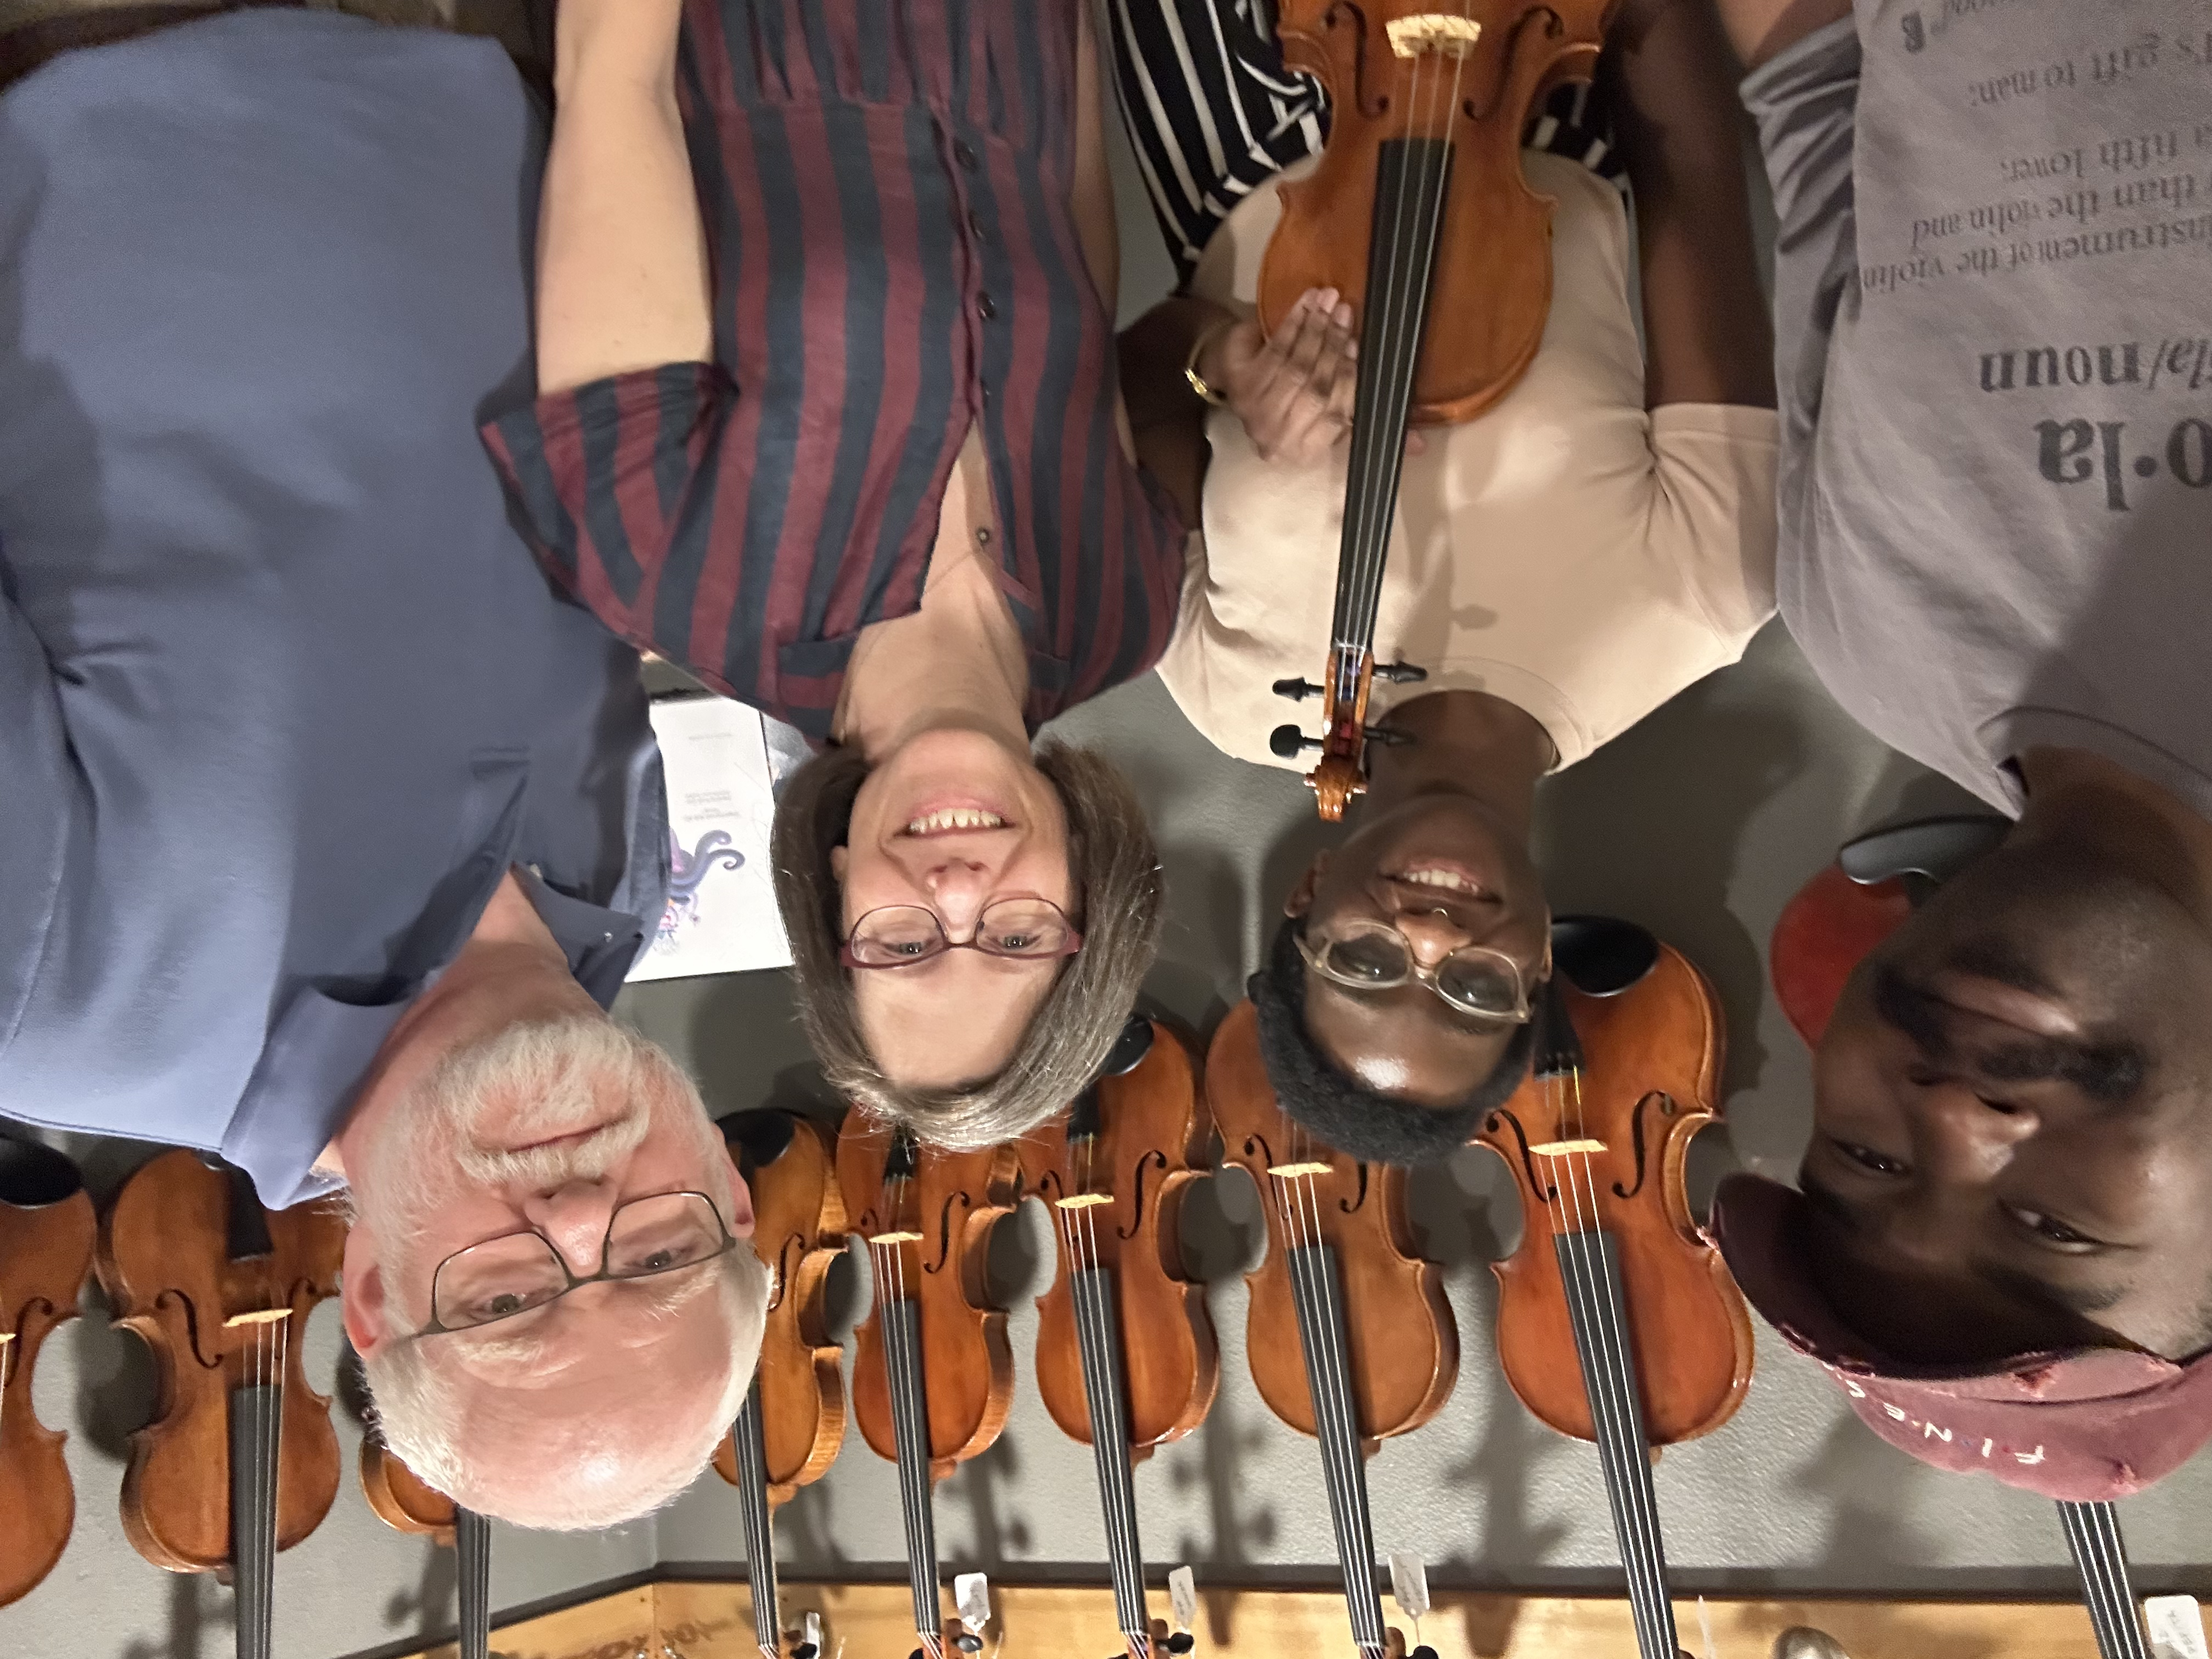 Korah Cuff, violinst from Cincinatti, fellow Ohioan, came in to get her violin that she got from Craig on a grant back in working order. Ursula, the violin is named, needed a new bridge, post, and an extra ear to do some tonal adjustments. If I remember the story correctly, Ursula was finished just a few days before last year’s Sphinx conference, and Korah immediately took this one home as her own. What can you say: when you know, you know.
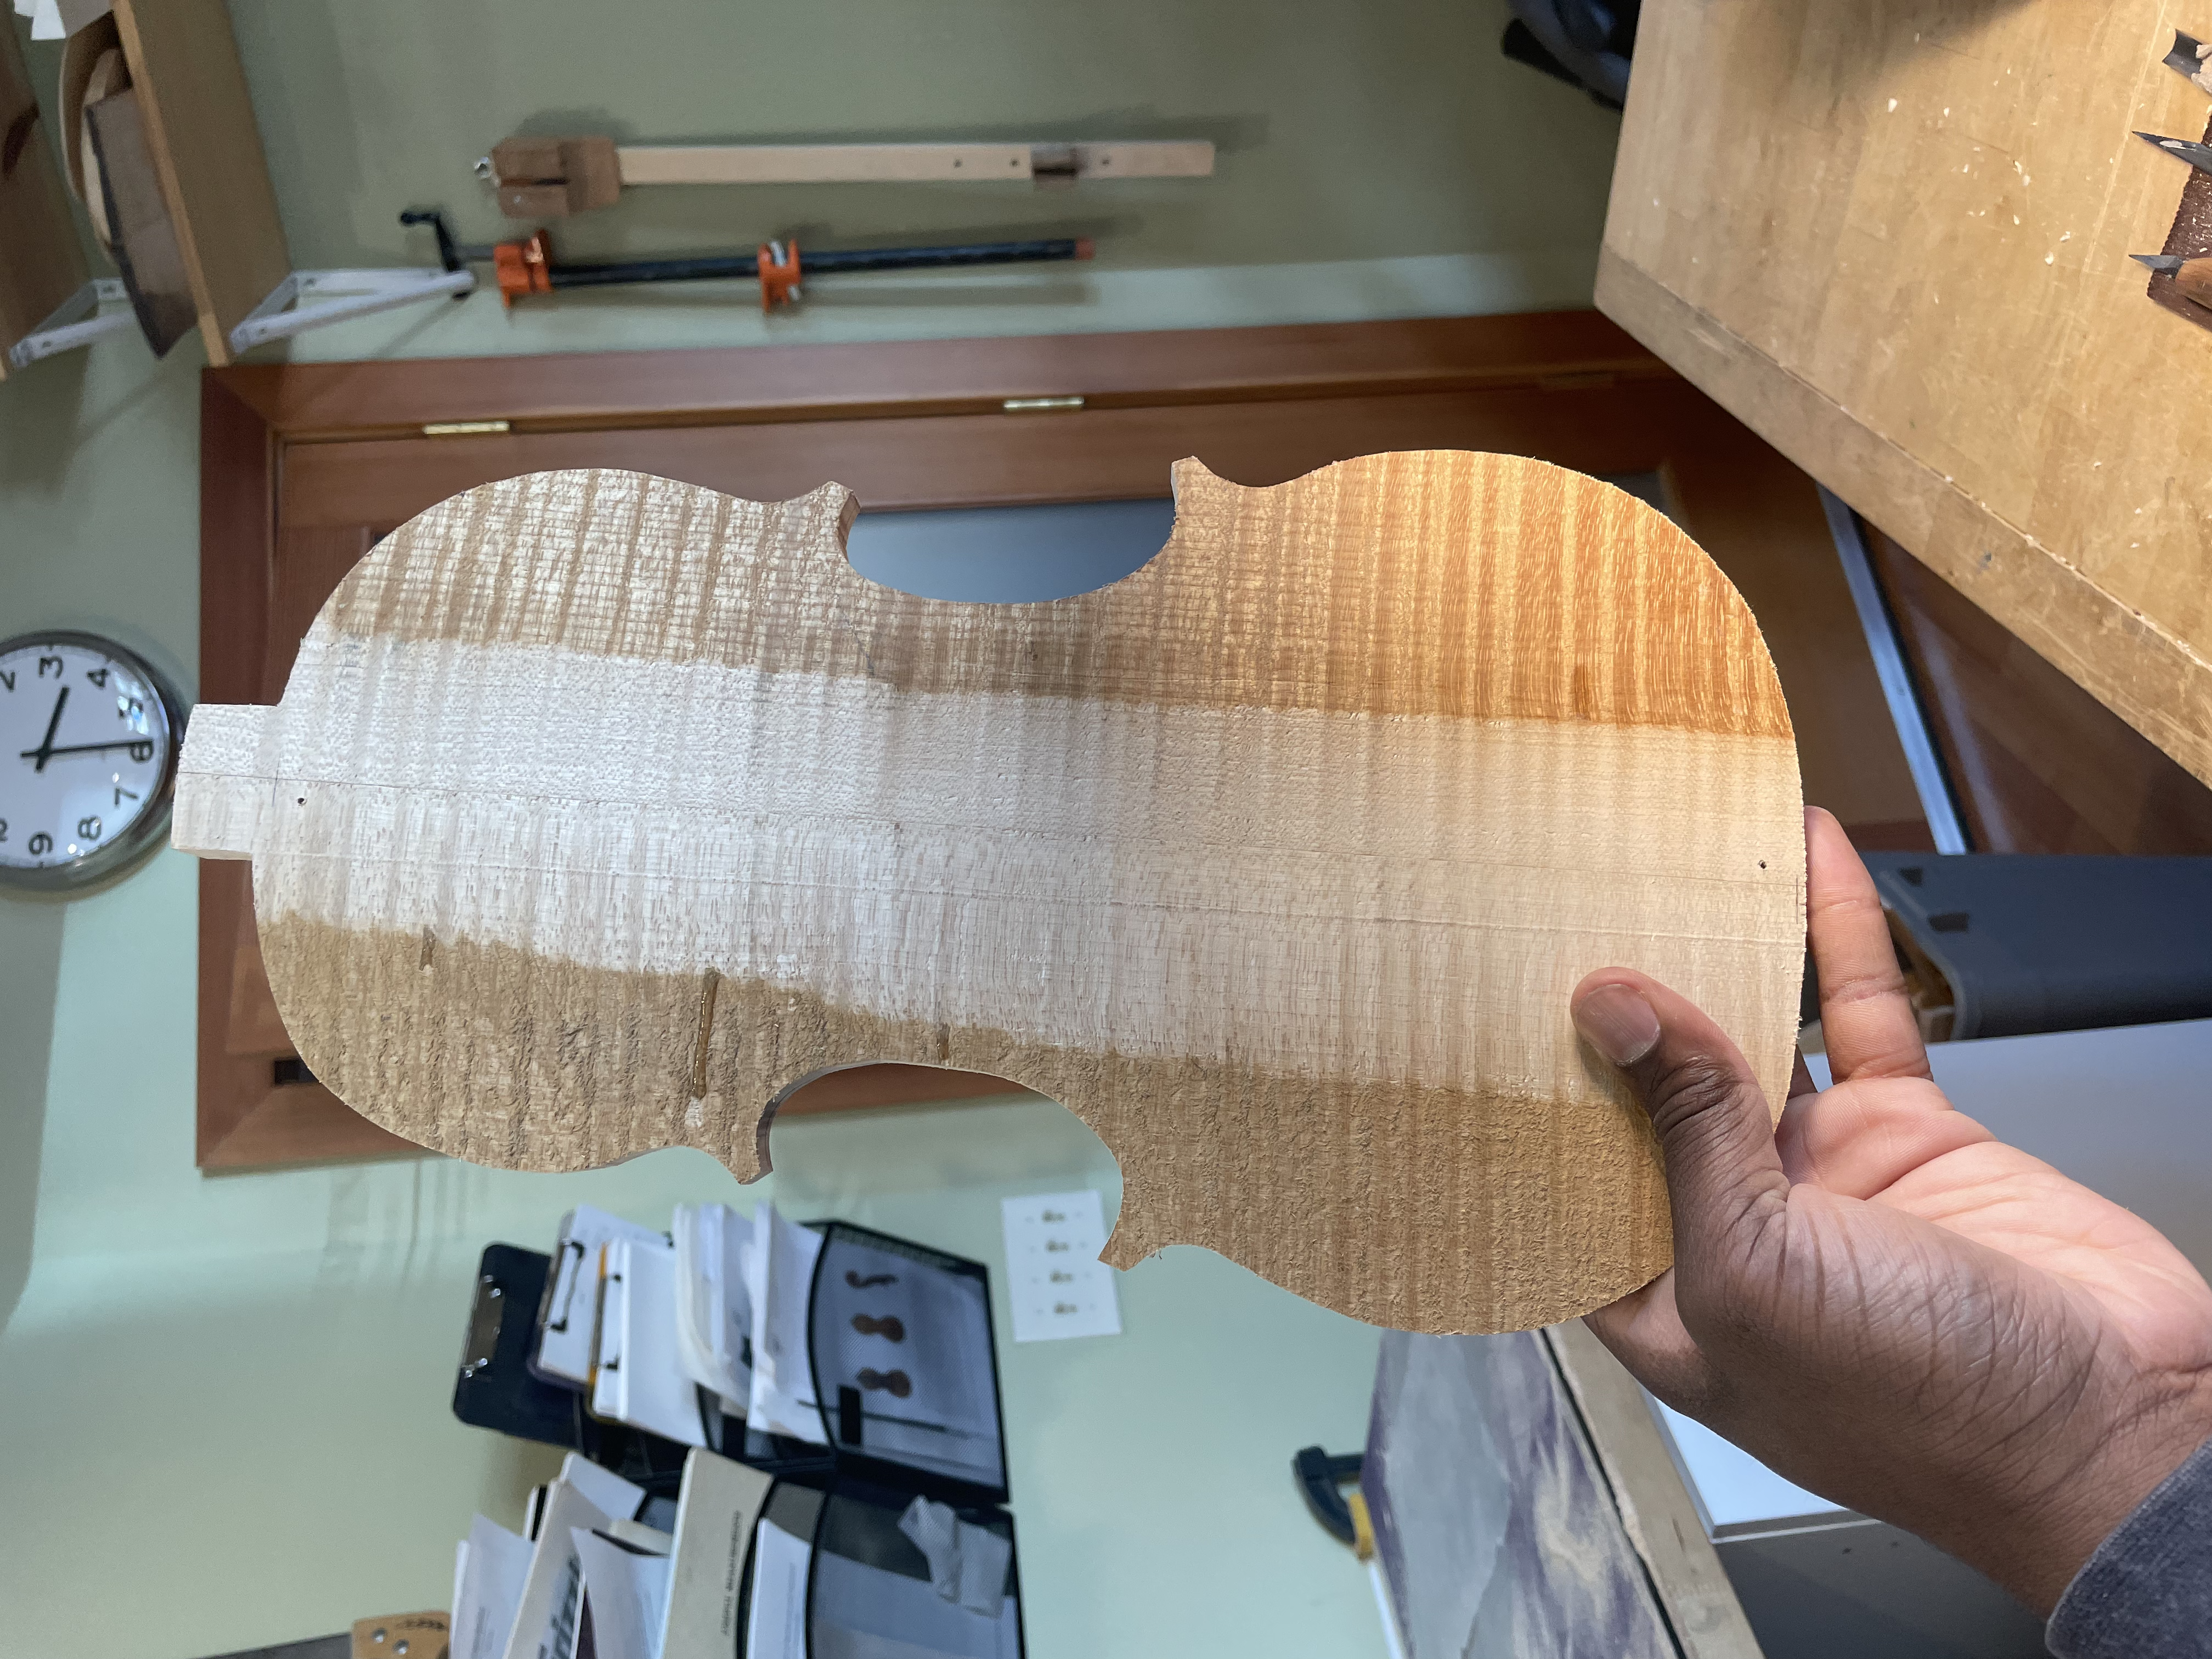
Everything in the workshop aside, it was great having another person there to share stories with and converse with over the dinner table. And, quite frankly, it was so great to have another melanated individual within the vicinity. (I swear I think I was to only one within 15 miles until she showed up.) During her three-day stay I got my first back mostly done
Korah Cuff, violinst from Cincinatti, fellow Ohioan, came in to get her violin that she got from Craig on a grant back in working order. Ursula, the violin is named, needed a new bridge, post, and an extra ear to do some tonal adjustments. If I remember the story correctly, Ursula was finished just a few days before last year’s Sphinx conference, and Korah immediately took this one home as her own. What can you say: when you know, you know.
Everything in the workshop aside, it was great having another person there to share stories with and converse with over the dinner table. And, quite frankly, it was so great to have another melanated individual within the vicinity. (I swear I think I was to only one within 15 miles until she showed up.) During her three-day stay I got my first back mostly done
FORESHADOWING. ONCE AGAIN, THIS IS MAJOR FORESHADOWING.
while helping Korah with her violin. The finishing touch? A gold plated e-string to balance out the setup and really make the instrument respond and sing. By the way, Korah has a Substack in which she explores the intersection of mental health and classical music, which if you’re a classical musician, I’m positive you can relate to this in some way. I know I can. Give it a follow, she’s a much better writer than I am.
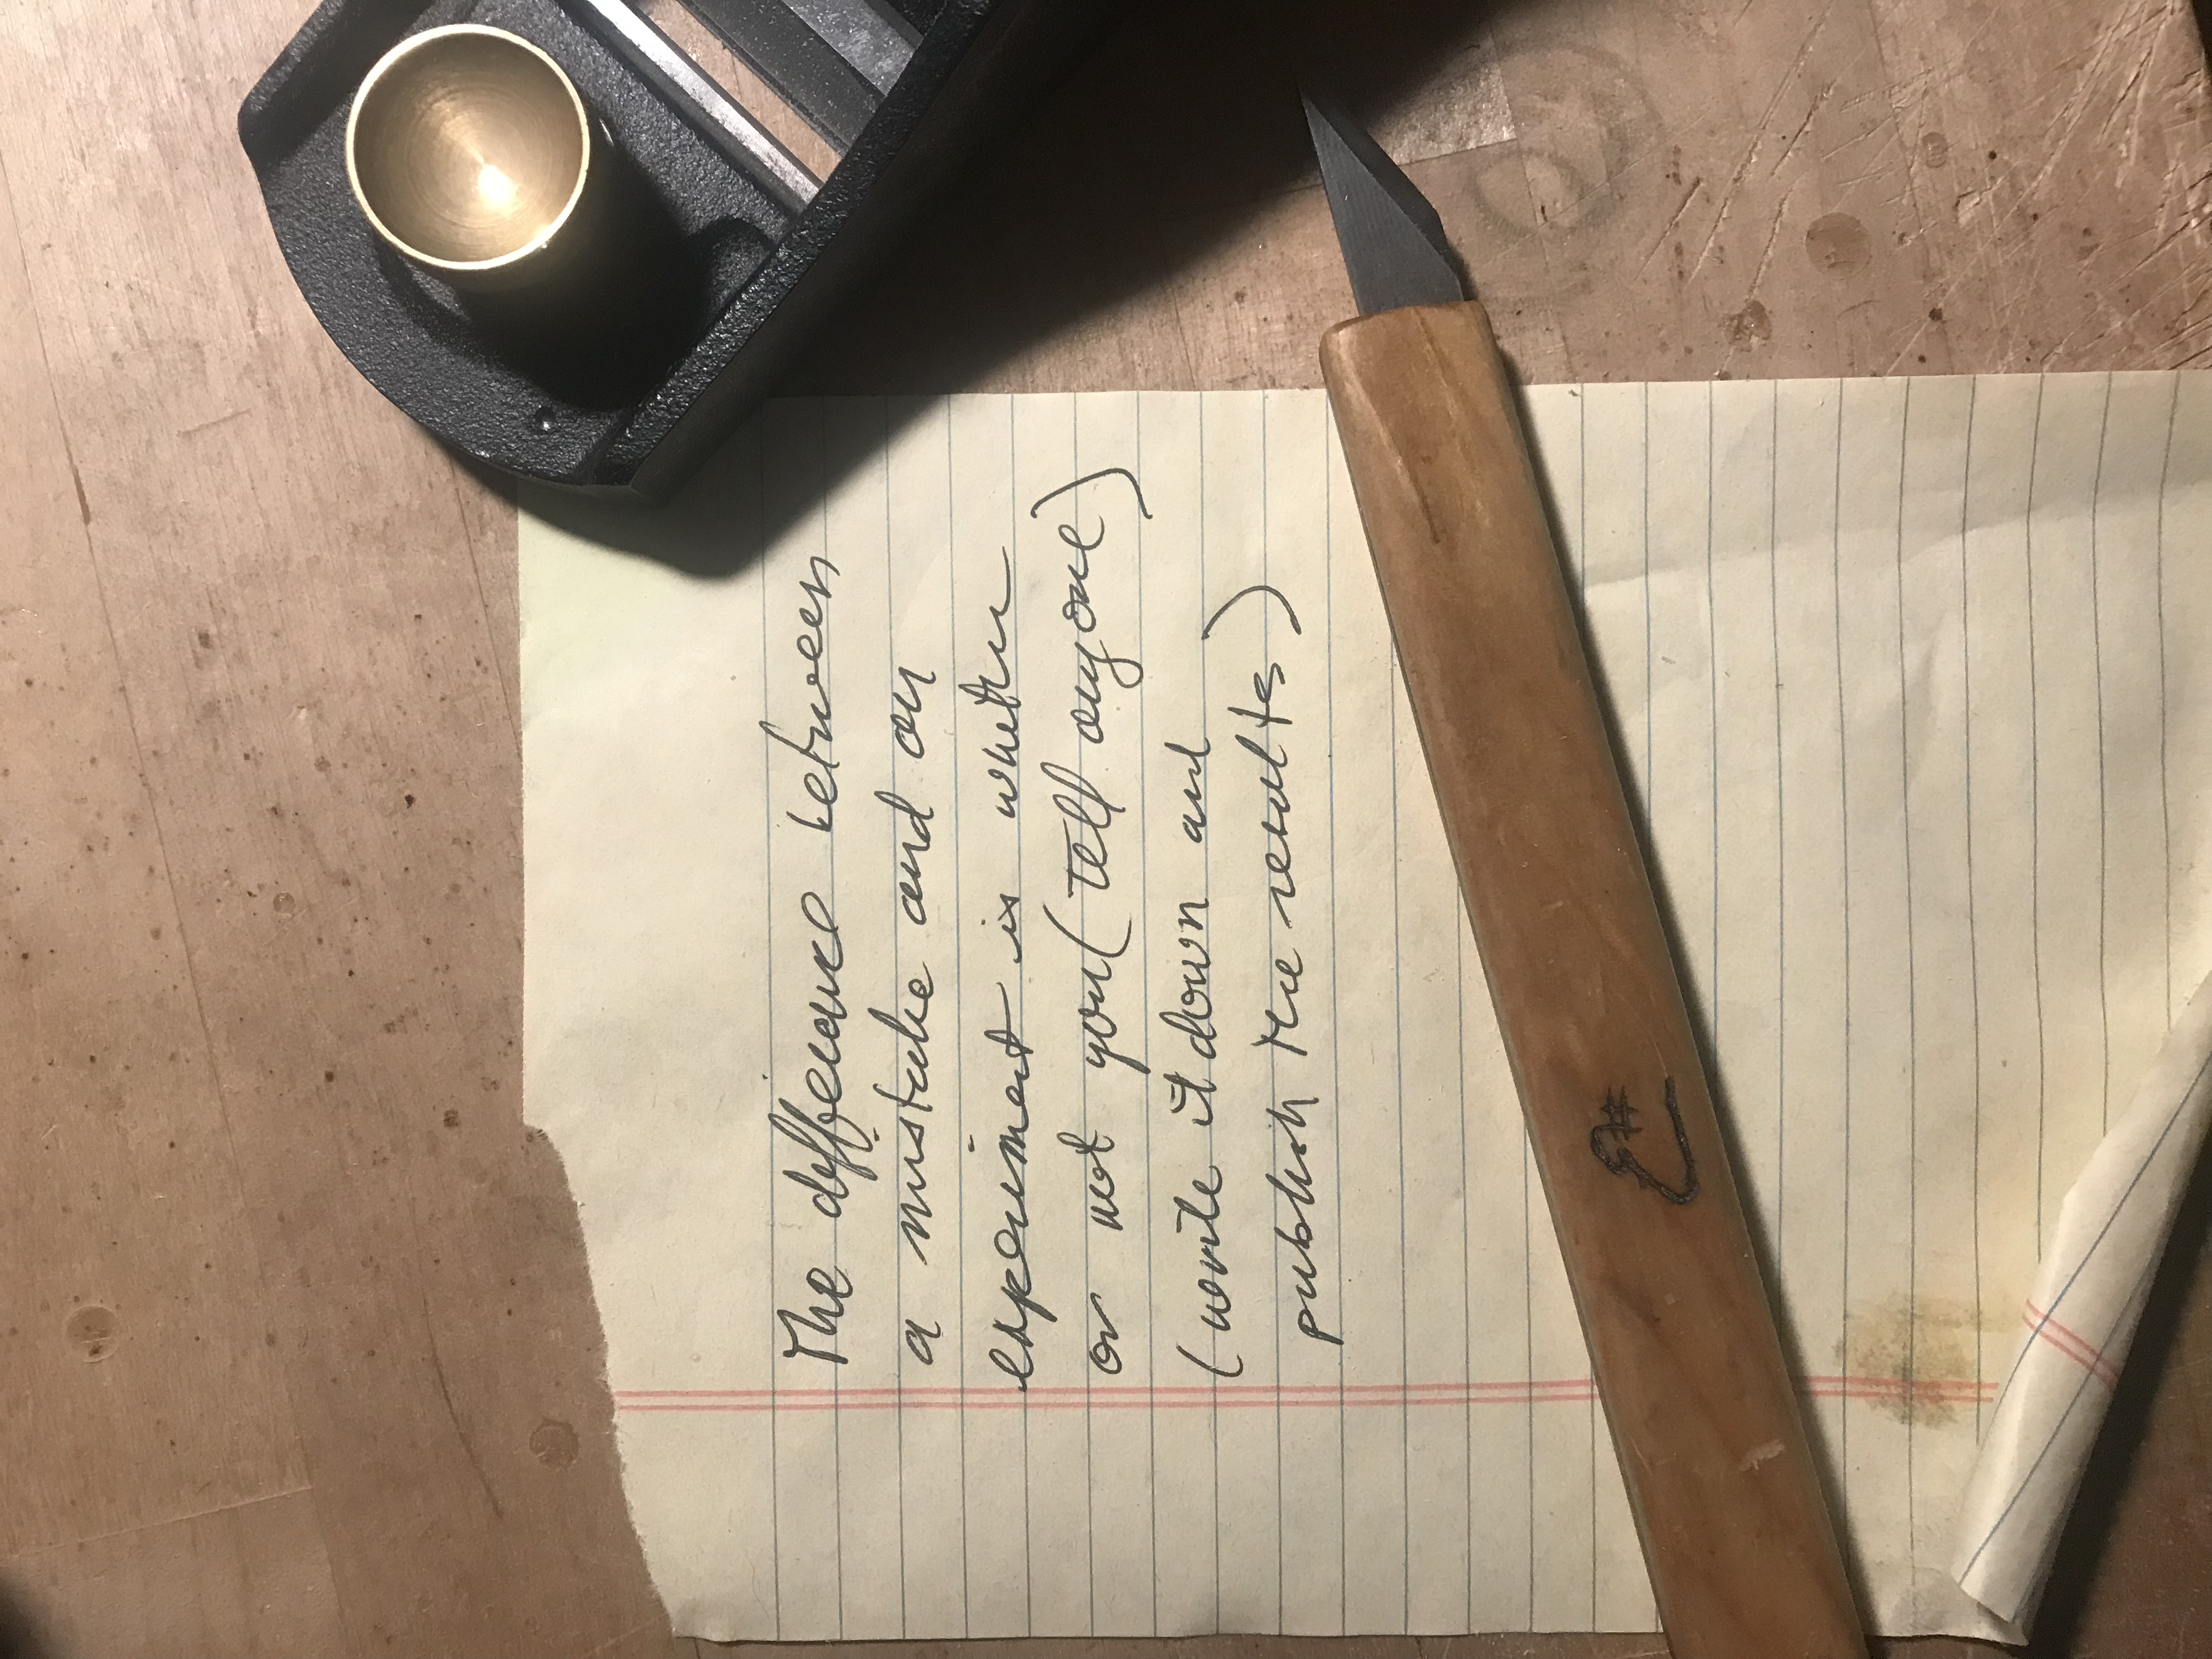
Hey, Craig, Stacy, and Korah, you guys are all writers. How am I doing? Is this good so far? Are these fourth wall breaks adding the levity I think it is or is it getting heavy handed? How about the foreshadowing? Two of you know what I’m alluding to, because it happened right after Korah left. It’s the thing on the next page, in case you forgot, but I’m sure you didn’t because the apprentice (Craig) and I spent a full day and night correcting said mistake. I bet you remember now. Also what are your thoughts on the Oxford comma?
What Could Possibly Go Wrong?
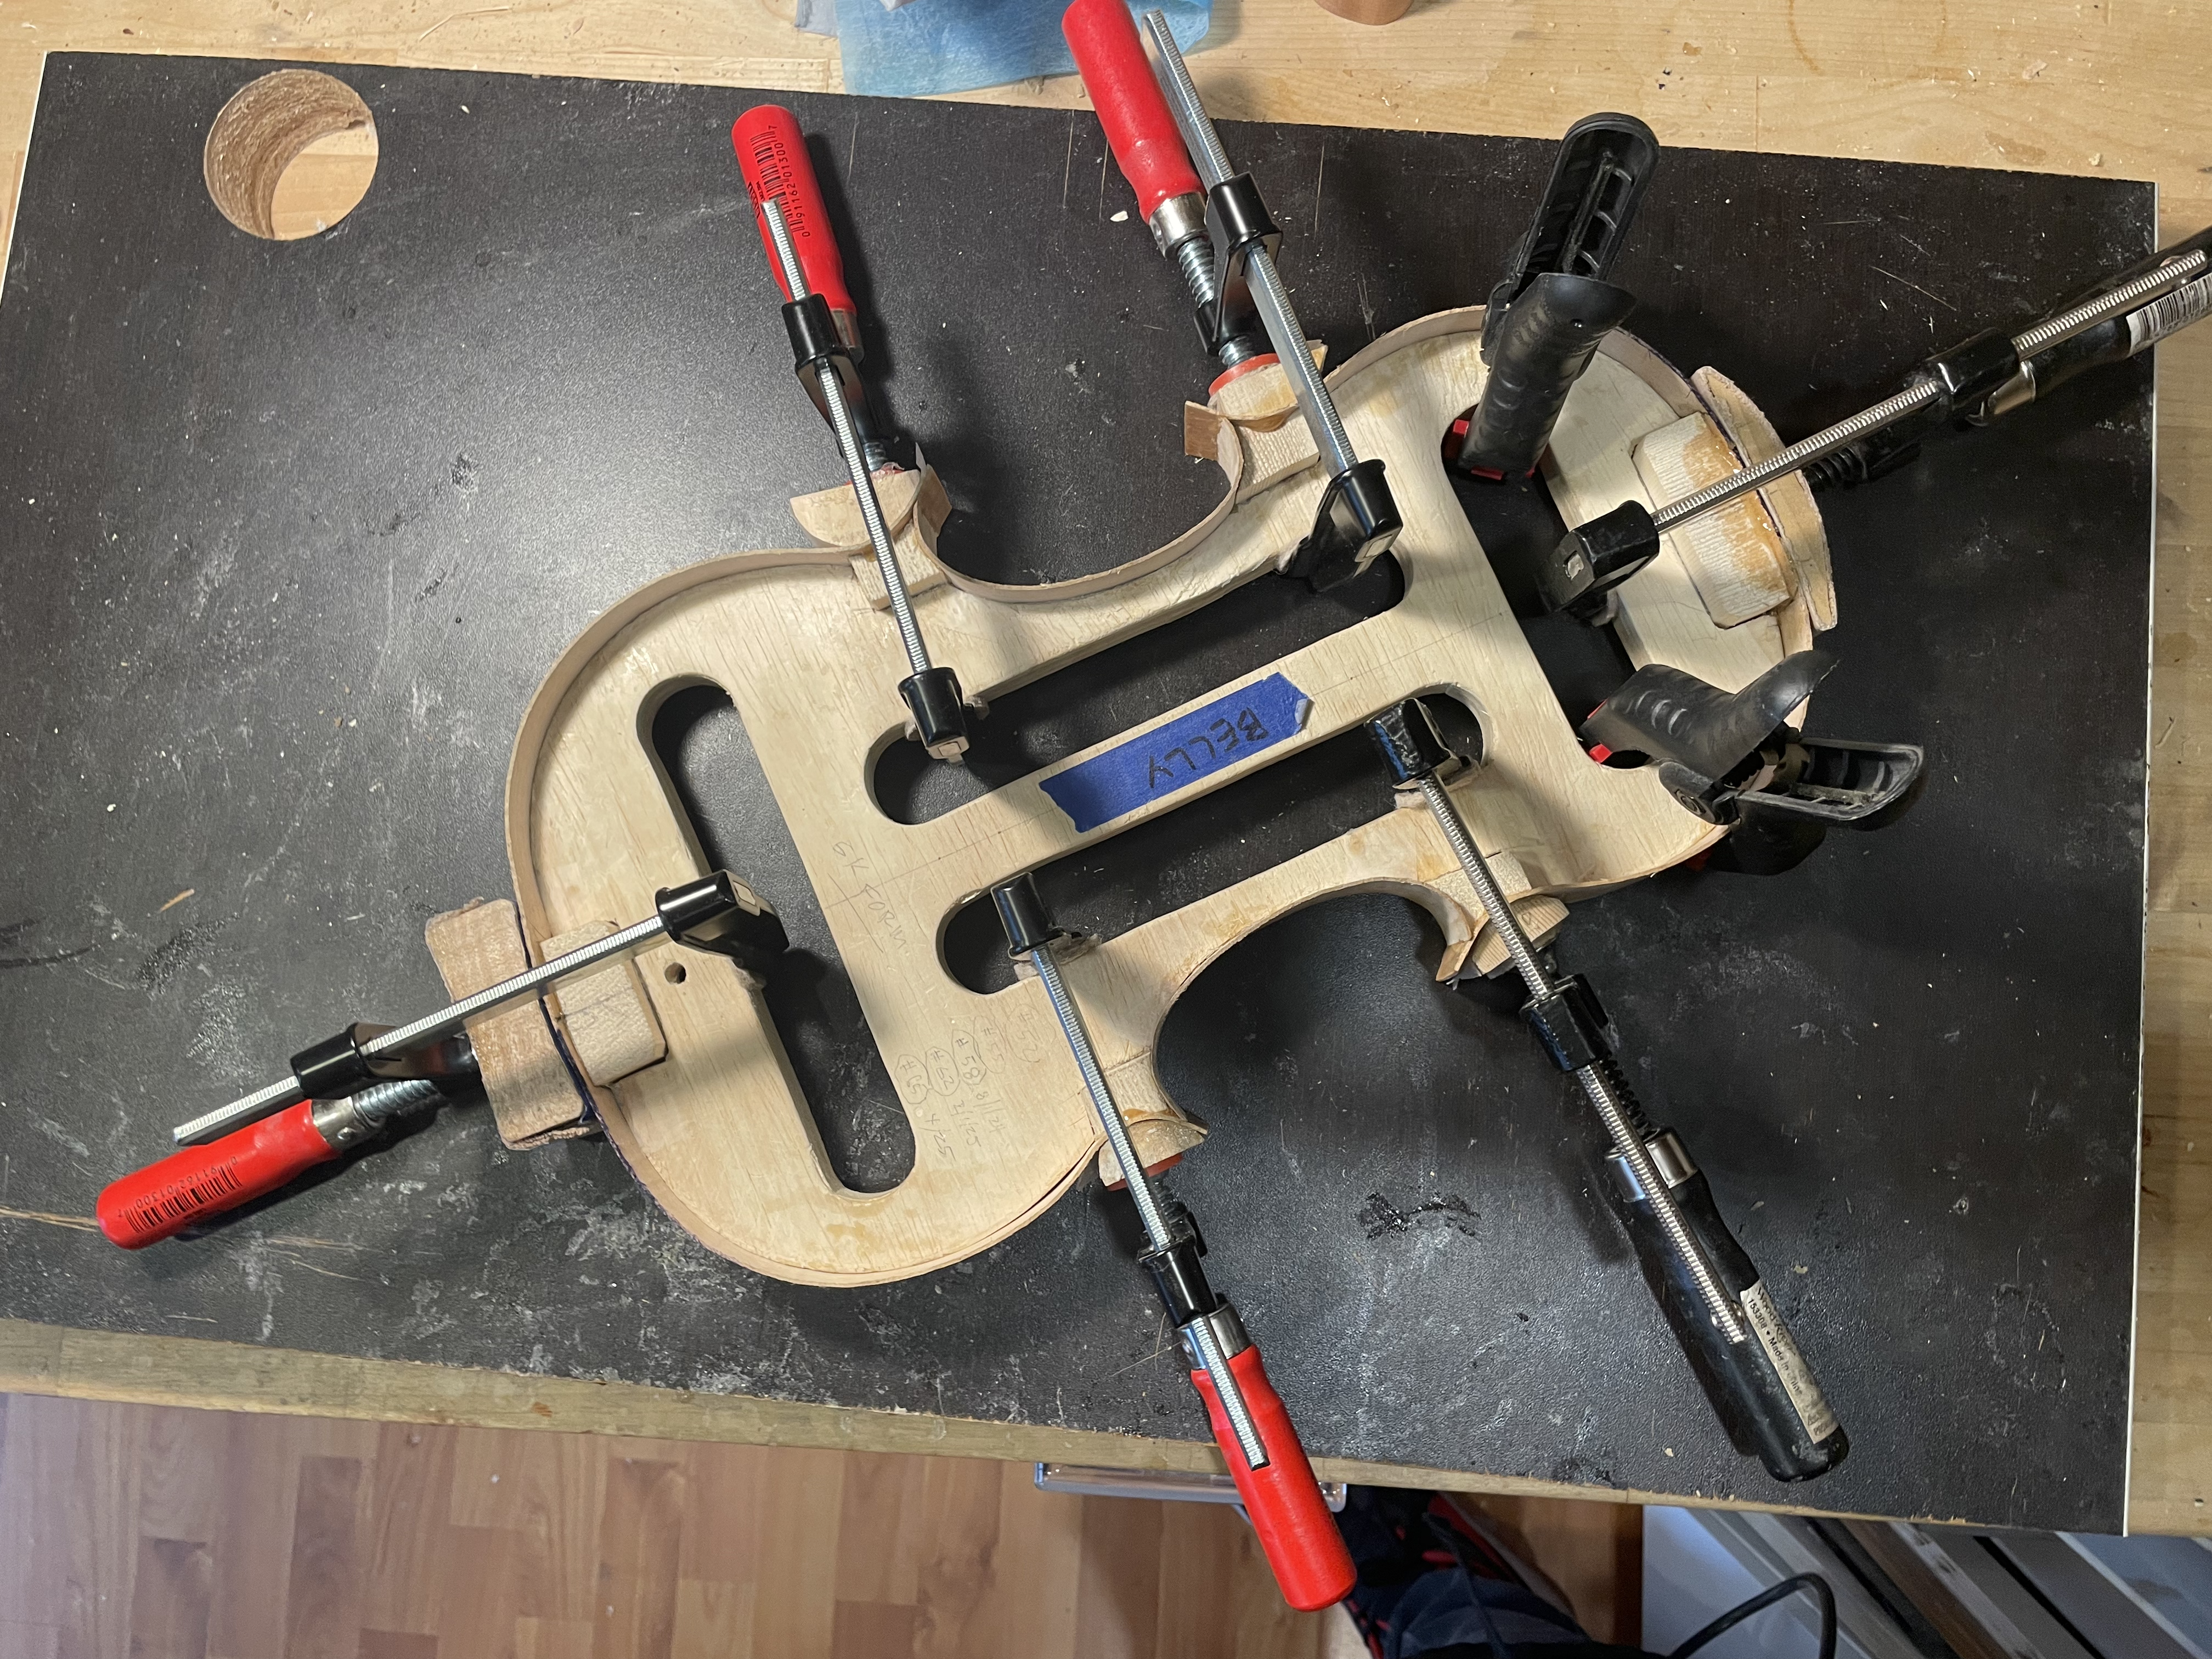
3 days remain until my flight back to Chicago. The goal at this point is to glue on the back by lunch, and start getting some coats of shellac and color on in the evening. All I have to do is graduate the inside of the back and not severely damage the workpiece or do anything that might necessitate starting a whole new back that day.
(…do I need to say it?)
Easy enough, right? You know what, to save some time, instead of switching the drill bit out in the drill press (to drill down to the proper depth the inside should be), I’ll just leave the forstner bit in and drill bigger holes, giving me less wood to cut through, making this whole process faster. Good thinking, me. That’s a great idea. Absolutely nothing could possibly go wro— Next Page…(yeah, this one’s beefy!)☮ ♡ ♫𝄂
Home Index