Putting It Together
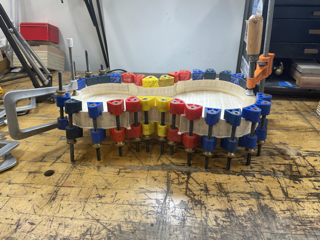
Closing the First Box
Tuesday, October 1st, 2024
*checks calendar* *checks when I said this blog post would be posted* *throws out calendar* I know. I KNOW. If you read the last instrument update, know that I will simply stop promising dates that these things will be published and you guys get to be surprised whenever I do, however regular or infrequent that may be. Deal? Deal.
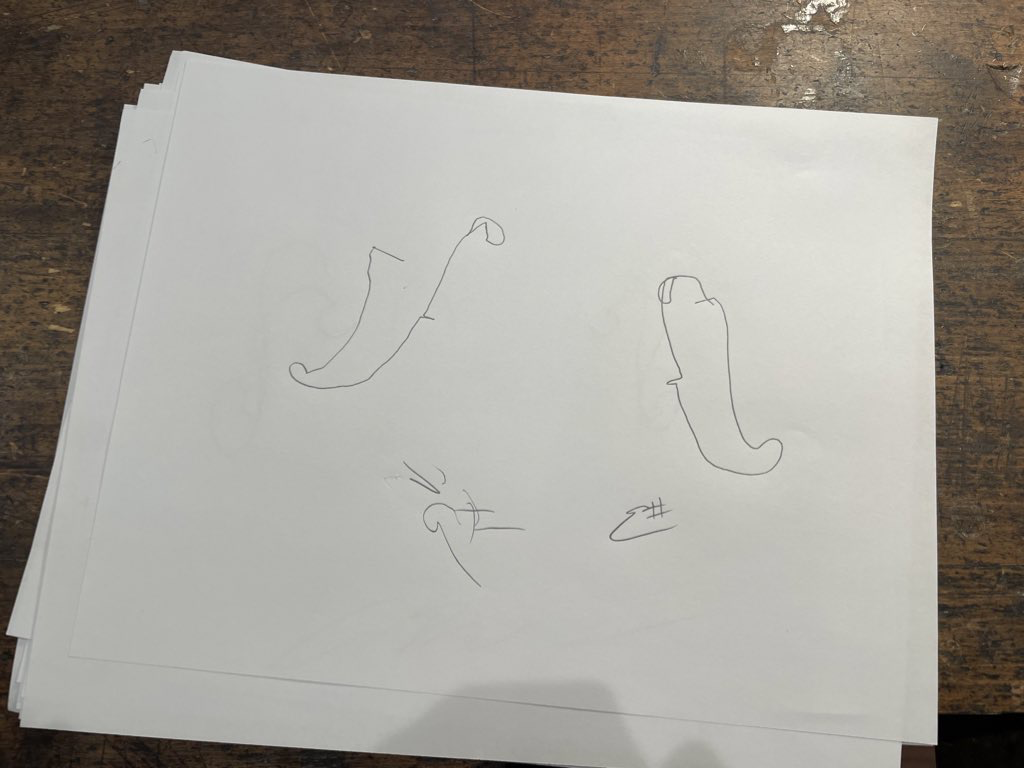
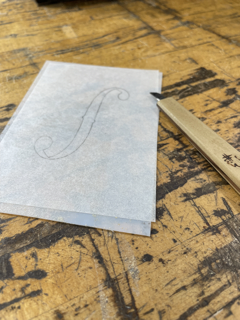
Now where was I? Oh, before Christmas I was at a place where I could come back and start the purfling. That felt like a good place to be: getting the main 3 external regions of the violin prepared — the top, back, and ribs. This trimester would be for actually shaping these things into a violin… or a violin shaped object. Here, unrelated, we for some reason decided to blindly draw ff holes once we came back from break. At this point, I hadn’t even thought about ff holes on my first instrument.
Is Purfling A Verb?
The purfling, simply put, is not only an aesthetic part of the violin body. Creating that channel and inlaying a thin string of wood against the grain helps prevent cracks from forming on the face of the instrument and altogether makes it stronger. So yeah, no stress in trying to get this right. It took a few tries getting the purfling itself to bend how I wanted it to, but it’s now one of my favorite parts of the making process.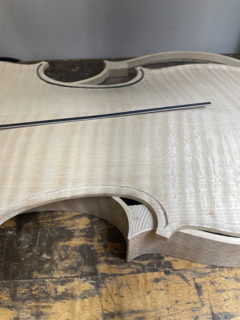
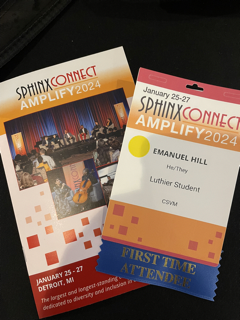
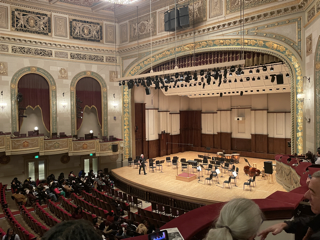
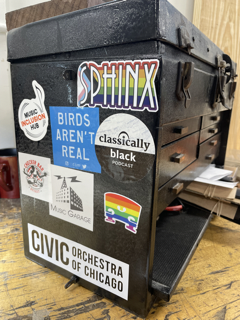
 I would then go hang out in Detroit for a weekend at Sphinx, and then I graduated.
Purf and Circumstance
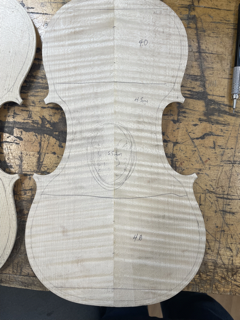
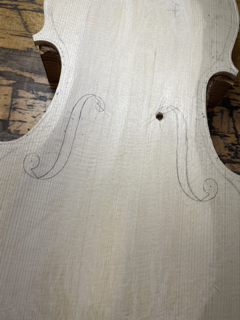
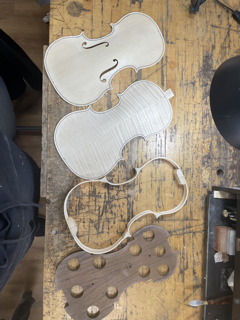
Well, graduations. I did graduations. Basically, getting the varying thickness of the plate fine tuned and getting close to the final shape of each individual plate. I also needed to get rid of a bunch of wood in order to cut out my first ff holes.
Removing and then Adding Wood
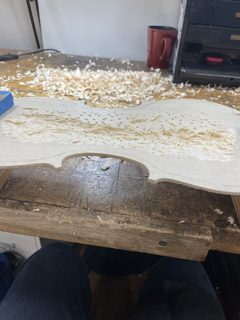
So you see those ff holes. Some people might have practiced cutting those out on a scrap piece of wood before putting on the final instrument, on which it would be very hard to reverse any mistake. But not I! Mostly because I and my teacher forgot that practice was a possibility and just went for it. Still, I think they turned out pretty nice. Also, after all the work I did on arching the top, drilling a pilot hole for the ff holes was and will always be one of the scarier parts of making for me. If you remember, I had already split a plate from a bad glue job, and willingly drilling a hole into the top felt wrong.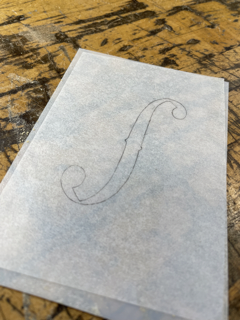
 The bass bar (which many players, I think, don’t realize is even a part of their instrument, given how many customers/parents I’ve had to educate on what a sound post is) would be the next step. This involves fitting a square piece of wood to the now curved inside of the violin top. Big “That’s Right; it goes in the square hole.” Energy here, gang. When it comes to woodworking, I always struggle with obscure fittings like this, but with some guidance, it only took a couple days to get it how I wanted.
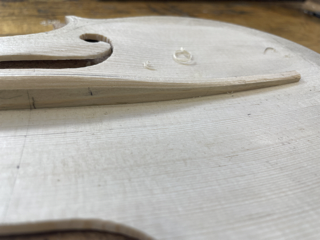
Edgework
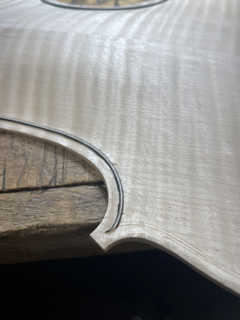
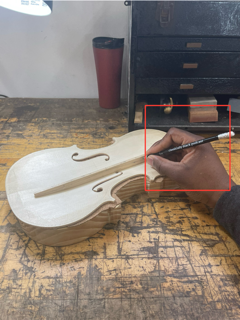
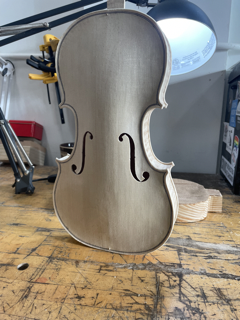
One of the last things before closing the body would be what’s called “turning,” or curving the edges and corners. Now things aren’t so square and are starting to look like a finished violin.The Art of Making Art
Straight up, I’m tired of typing. Here are more pictures. And then it got glued. Violin Body #1: done and in the white.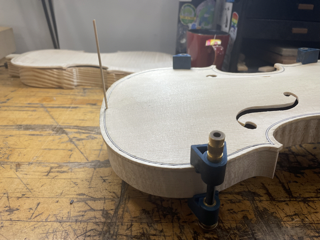
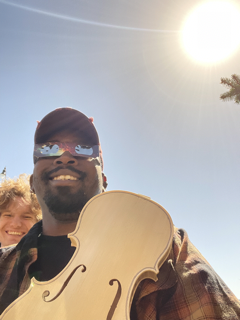
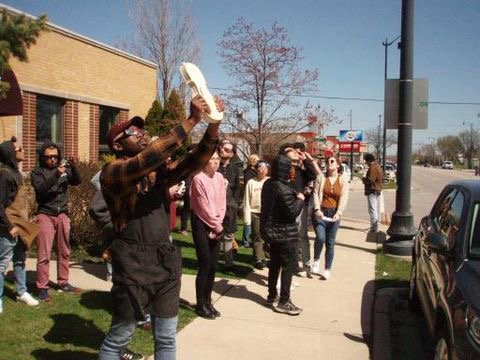
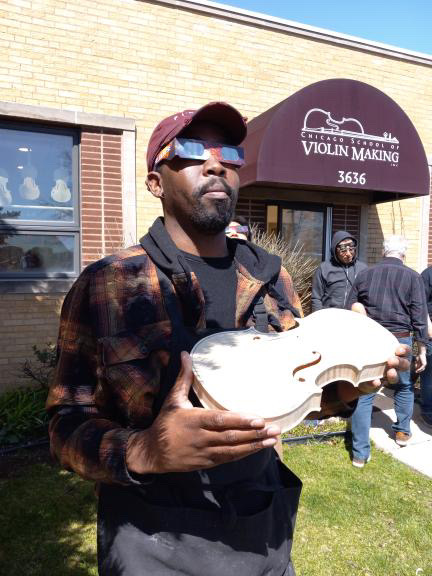
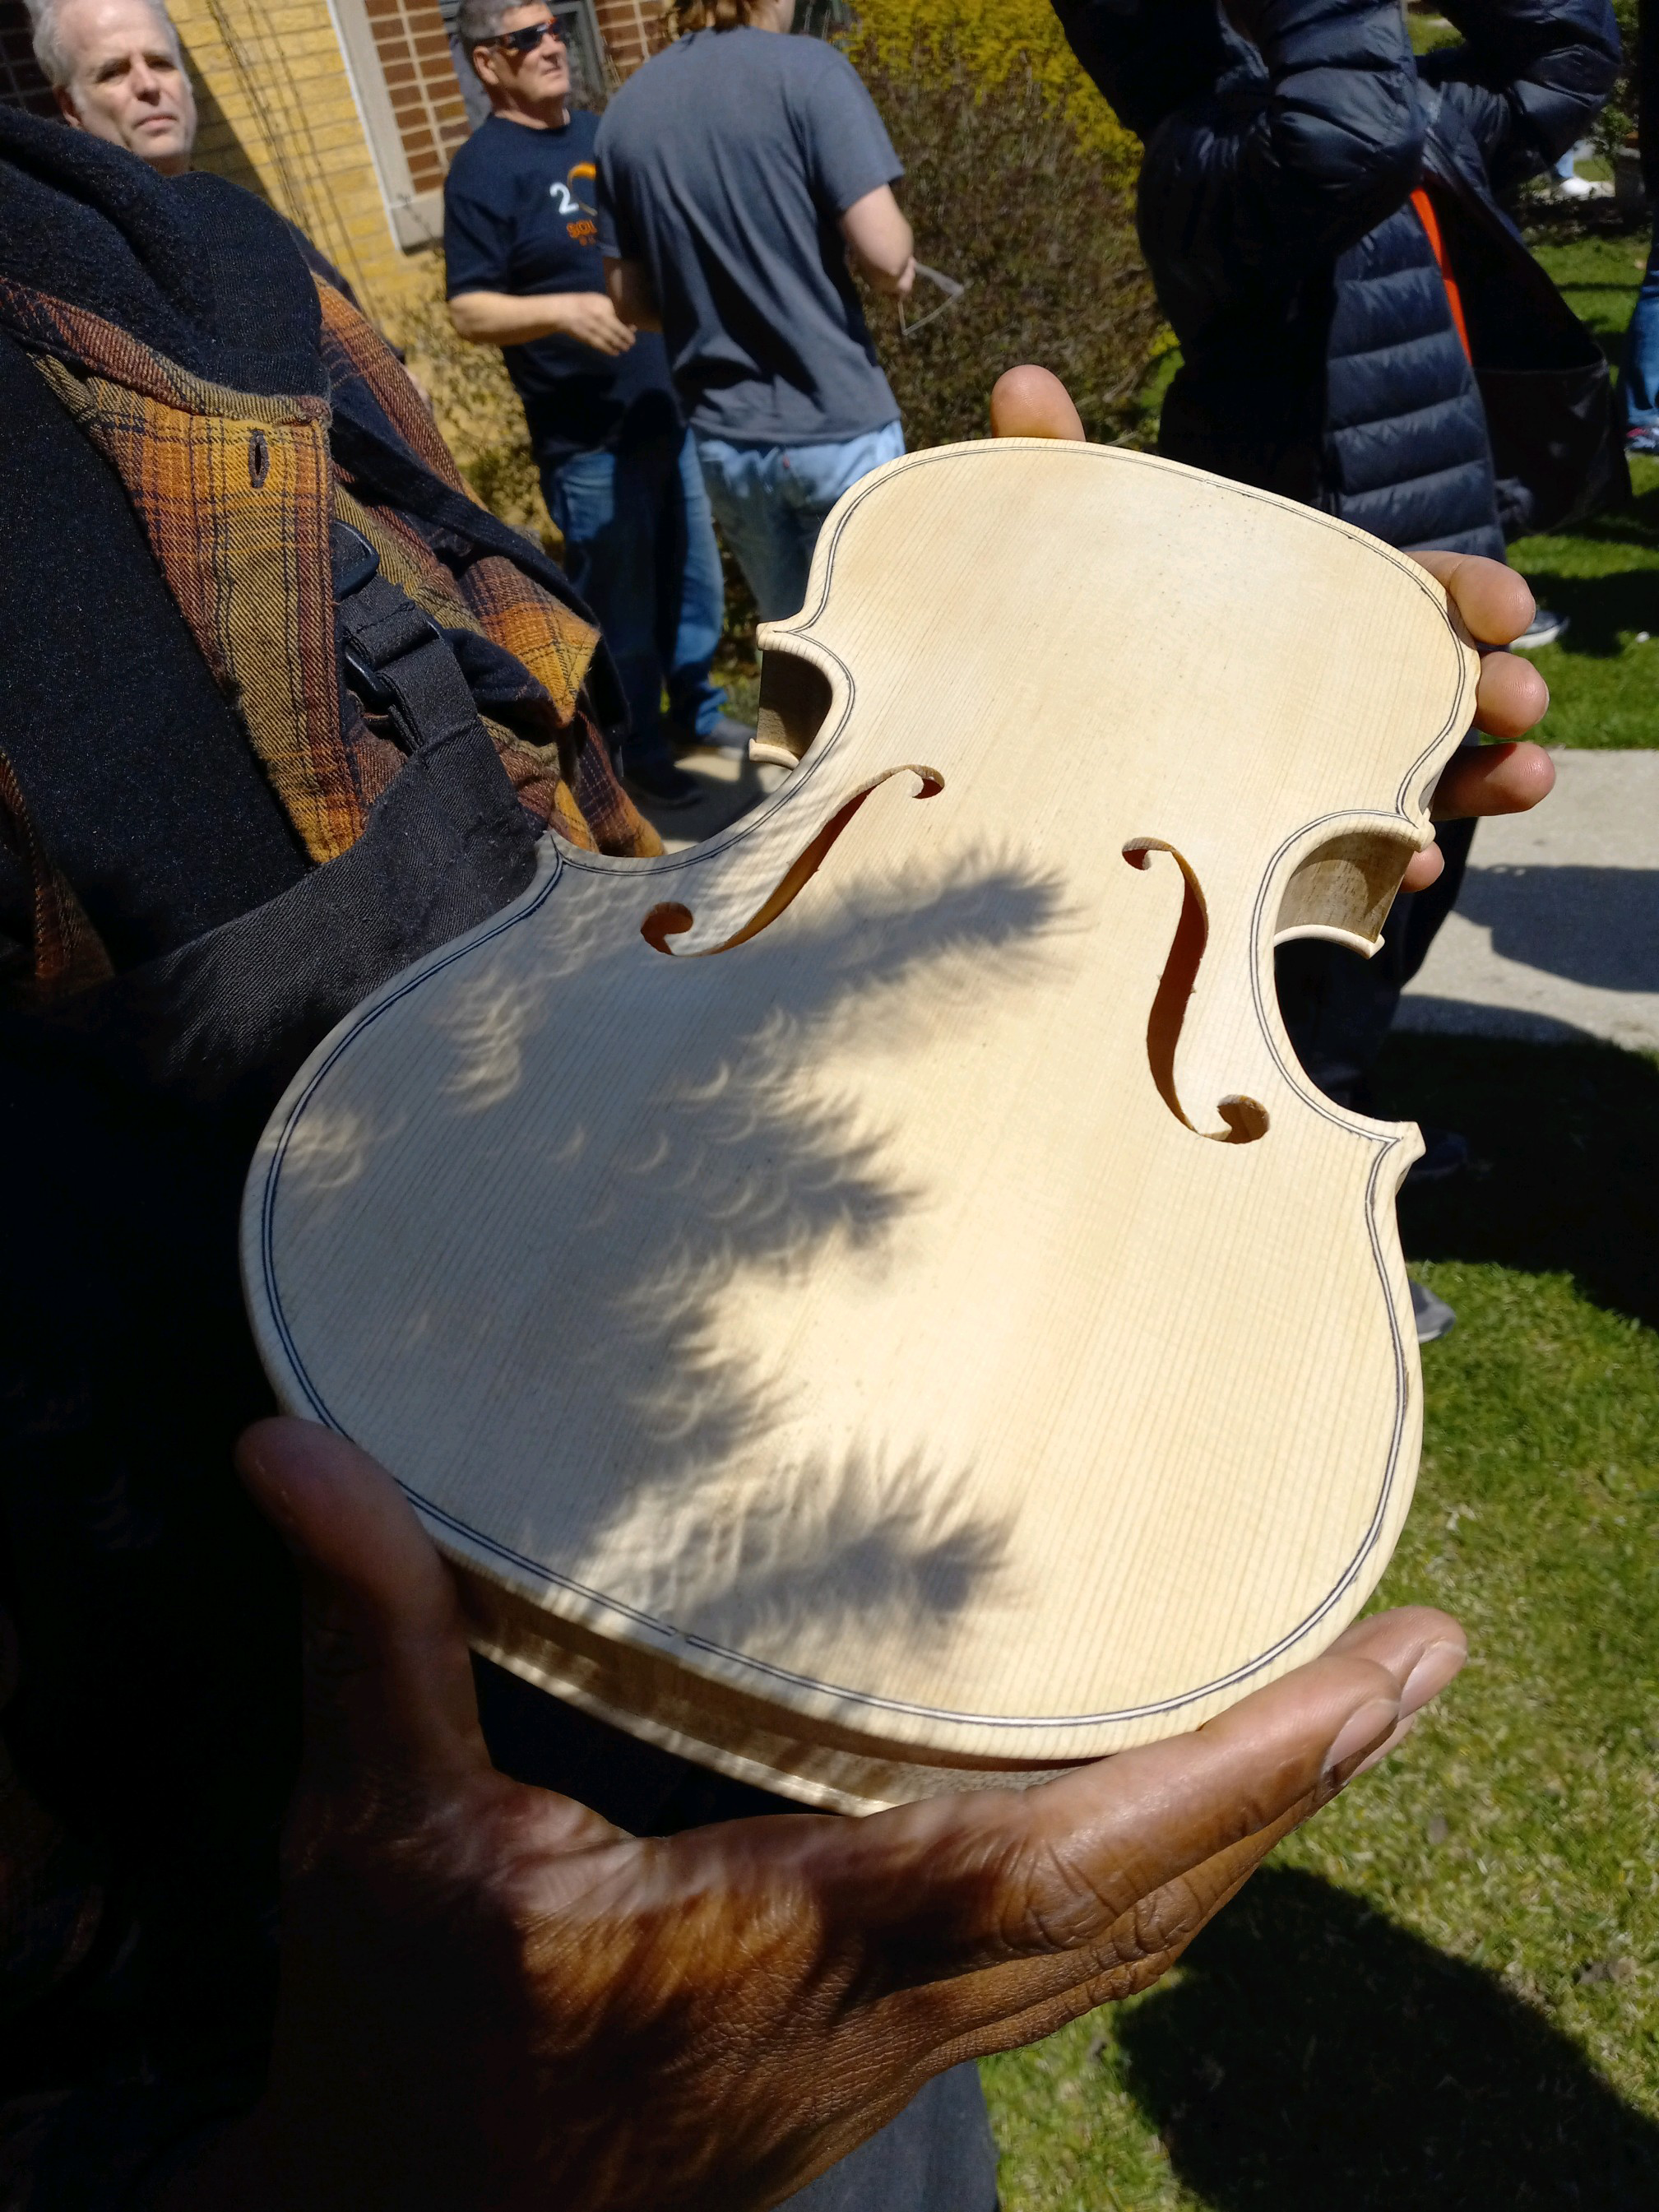
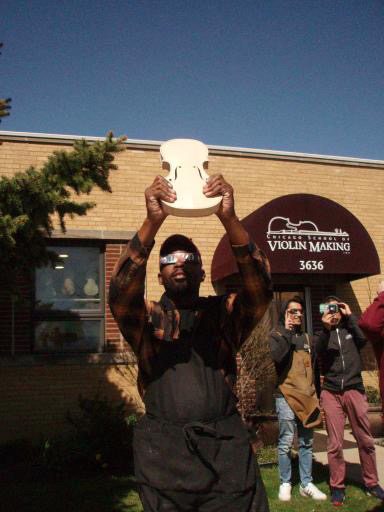
The Eclipse
A couple weeks later, I figured it would be good for the newly finished body to get some partially obscured sun. So, I took it outside and got some cool pictures of it with some double shadows and Special Eclipse LightingTM.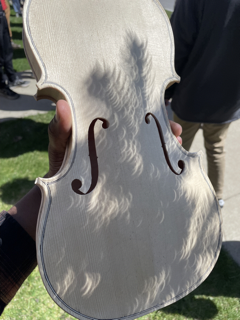
 Now, I could start body number 2... after, of course, becoming well acquainted with our good friend Mr. Dunning-Krueger.[*INTENSE FORESHADOWING*] More on that next time. I didn’t take many pictures of that one, so you’ll mostly just get my thoughts…good luck. 𝄂
 Home Index